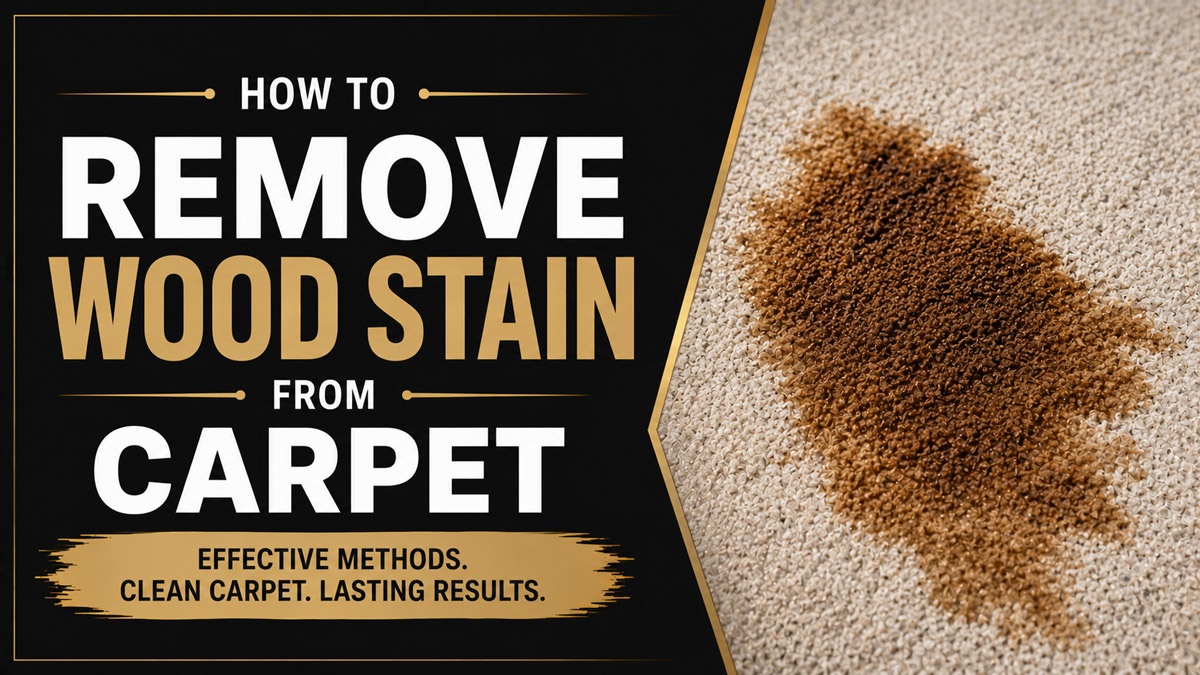
To remove wood stain from carpet, you must match a specific chemical solvent to the pigment binder before it permanently cures into the fibers. You need mineral spirits for oil-based liquids and isopropyl alcohol for water-based acrylics. Blotting transfers the dissolved pigment into a clean cloth via capillary action.
Key Facts / At a Glance
- Success Rate: Fresh spills treated within 10 minutes have a 90% complete removal rate.
- Drying Penalty: Finishes left to cure for more than 24 hours have a success rate below 20%.
- Primary Mechanic: Chemical solvents break the structural binder. Capillary action lifts the loose pigment.
- Strict Rule: Never scrub the fibers horizontally. Agitation distorts the twisted carpet pile permanently.
- Temperature Warning: Never apply hot water or steam. Heat permanently sets the dye into the plastic strands.
Before You Start: Preparation and Materials
Removing spilled finishing products requires immediate action and precise chemical application. You must assemble the exact tools required before addressing the spill. Time dictates your overall success rate. The moment a liquid finish touches a porous surface, the carrier vehicle begins evaporating. This evaporation leaves behind a hardened resin.
You will need specific supplies based on the chemical makeup of the spill. Gather a dull butter knife or a plastic putty knife for lifting solids. Procure at least ten clean white terry cloth towels. Colored towels will bleed their own dye into your flooring when exposed to aggressive chemicals. You will also need a wet-dry vacuum capable of extracting moisture, heavy books wrapped in plastic bags for applying weight, and protective nitrile gloves.
The total time required ranges from 15 to 45 minutes of active blotting. Drying requires an additional 4 to 12 hours. The difficulty is high. One wrong chemical application can melt the latex backing beneath your floor.
How Does Wood Finish Bind to Carpet Fibers?
Wood finishes contain three distinct chemical components. Understanding these components explains why water cannot clean up an oil spill. The three components are pigments, binders, and vehicles. Pigments provide the physical colorant. Binders glue the pigment to the targeted surface. Vehicles carry the pigment and binder in a liquid state until they evaporate.
Synthetic floor coverings react differently to these components. Nylon consists of synthetic polyamides. It contains active dye sites designed to absorb color during the manufacturing process. Wood finishes permanently bond to these open dye sites almost instantly. Polyester consists of extruded plastics. It lacks dye sites for water, making it highly resistant to acrylic spills. However, polyester heavily attracts oils. Oil-based finishes bond instantly and aggressively to polyester strands.
Wool relies on a natural protein structure. It absorbs all liquids rapidly. Strong alkaline solutions or harsh industrial solvents destroy the actual protein structure of the wool. You must limit chemical exposure times on natural materials to prevent permanent physical degradation.
How Do You Identify the Stain and Carpet Type?
You cannot apply a cleaner without knowing the composition of both the pigment and the floor covering. Misidentifying the spill leads to chemical reactions that permanently seal the color into the room. You must check the original paint can first.
If you do not have the can, perform a physical touch test. Water-based liquids feel thin and dry into a brittle, crusty texture. Oil-based liquids feel slick and dry into a sticky, gummy residue. Water-based acrylics wipe away easily from hard surfaces with a damp paper towel. Oil-based polyurethanes smear and require paint thinner to dissolve on hard surfaces.
You must also test the chemical solvent on a hidden corner of the floor covering before applying it to the center of the room. Apply three drops of your chosen chemical to the fibers inside a dark closet. Wait exactly five minutes. Press a white paper towel firmly against the wet spot. If the carpet dye transfers to the towel, the solvent is too aggressive for your specific flooring.
Which Solvent Should You Choose?
The correct chemical application depends entirely on the binder type. Applying water to a polyurethane binder pushes the oil deeper into the pad. Applying heavy solvents to a basic latex binder unnecessarily risks destroying the synthetic backing adhesive.
| Solvent Type | Chemical Target | Safe Carpet Fibers | DIY Cost Range |
| Dish Soap (1 tsp) + Water (1 cup) | Fresh water-based acrylics | Nylon, Polyester, Olefin | $1 – $3 |
| White Vinegar (1 part to 2 parts water) | Alkaline pigment neutralization | Nylon, Polyester, Wool | $2 – $5 |
| Isopropyl Alcohol (70% or 91%) | Dried latex or acrylic binders | Nylon, Polyester | $3 – $6 |
| Mineral Spirits (Paint Thinner) | Oil-based polyurethanes | Nylon, Polyester | $8 – $15 |
| Acetone (Nail Polish Remover) | Stubborn, fully cured oils | Nylon, Olefin | $4 – $8 |
Step 1: Scrape and Isolate the Area
Scraping removes excess material before it penetrates the lower backing. This mechanical action reduces the total volume of chemical required later. Fewer chemicals mean a lower risk of delamination. Delamination occurs when the secondary backing separates from the primary backing due to adhesive failure.
Use a dull butter knife or a plastic putty knife. Angle the tool at exactly 45 degrees. Slide it gently under the thickest part of the spill. Lift the material straight up vertically. Do not press down into the pile. Pressing down forces the liquid vehicle directly into the deepest part of the pad. Deposit the collected sludge into a disposable plastic cup immediately. Continue lifting until no more semi-solid material comes up.
Success Checkpoint: You will know you have completed this step when the remaining mark sits completely flush with the surrounding fibers. The texture should feel damp but not pooled.
Common Mistake: Using a sharp blade cuts the actual twisted fibers. This leaves a permanent visual divot in the floor that no cleaning method can fix.
Step 2: Apply the Solvent Correctly
You must apply the chemical agent to the transfer medium, never to the floor itself. Pouring liquids directly onto the floor causes gravity to pull the chemicals past the pile. The chemicals settle into the latex adhesive holding the rug together. This melts the glue and ruins the structural integrity of the room.
Dampen a clean white terry cloth towel with your chosen solvent. The cloth should feel wet to the touch but should not drip when squeezed. Press the dampened section of the cloth firmly against the discolored area. Allow the solvent to rest against the fibers for a specific duration.
A 2021 study by the Institute of Inspection, Cleaning and Restoration Certification (IICRC) found that rubbing alcohol at a 70% concentration dissolves latex binders in under 45 seconds. Let the cloth sit for roughly one minute. This dwell time allows the chemical to break the hardened resin without reaching the subfloor.
Success Checkpoint: You will know the solvent is working when the color begins bleeding from the floor upward into the white towel.
Step 3: Blot the Stain Without Scrubbing
Blotting relies on fluid dynamics to physically move the colorant. Capillary action forces liquids to flow into narrow spaces without the assistance of gravity. The dry white towel provides thousands of empty capillary tubes. The wet floor provides the liquid. Pressing them together forces the liquid into the towel.
Press the dampened cloth heavily into the spot using the heel of your hand. Apply roughly ten pounds of downward pressure. Lift your hand straight up vertically. Do not twist your wrist. Do not rub side to side. Rotate the towel to a completely fresh, clean section after every single press. If you reuse a dirty section of the towel, you will simply stamp the extracted pigment back into the floor.
Practitioner Rule of Thumb: For every minute an oil-based puddle sits on nylon, it penetrates 10% deeper into the backing material. Move quickly but methodically. Continue the pressing and rotating cycle until no more color transfers to the white cloth.
Common Mistake: Horizontal scrubbing distorts the yarn twist. This causes a permanent fuzzy texture known as pile blooming.
Step 4: Rinse and Extract Moisture
Solvents continue breaking down materials as long as they remain active in the strands. You must neutralize and extract all residual chemicals to prevent long-term degradation. Leaving soap in the floor acts as a dirt magnet. The sticky soap residue will attract black soil from shoes over the next three months.
Dab the area heavily with a fresh cloth soaked in clean, cold water. Use a wet-dry shop vacuum to extract the liquid immediately. Press the vacuum nozzle firmly into the pad and pull backward slowly. If you do not own an extraction vacuum, place a thick stack of dry white towels over the wet area. Wrap a heavy object, like a stack of textbooks, in a plastic garbage bag. Place the heavy object on top of the towels.
Leave the weight in place for four to twelve hours. The pressure forces the remaining moisture upward into the dry towels.
Success Checkpoint: The floor should feel only slightly damp to the touch, and the original texture of the pile should return.
How Do You Remove Water-Based Acrylic Wood Stains?
Water-based finishes dry rapidly through water evaporation. The remaining acrylic or latex resins form a flexible plastic shell around the fibers. You must break this plastic shell to release the color.
Start with the safest option. Mix one teaspoon of liquid dish soap with one cup of warm water. Do not use hot water. Apply the soapy foam to a cloth and blot. The surfactants in the dish soap reduce the surface tension of the water. This allows the mixture to penetrate the plastic shell.
If soap fails, introduce an acid. Mix one part white vinegar with two parts cold water. Vinegar contains acetic acid. This mild acid neutralizes the alkaline properties found in many modern pigments. Blot the acidic mixture into the strands and extract it rapidly.
For fully dried acrylics, use isopropyl alcohol. Choose a concentration of 70% or 91%. The alcohol acts as a fast-evaporating solvent that specifically targets latex binders. Apply the alcohol to a cloth and press it into the crusty residue. The alcohol shatters the plastic shell within sixty seconds. Extract the resulting slurry with cold water immediately.
How Do You Remove Oil-Based Wood Stains?
Oil-based finishes utilize mineral spirits as a vehicle and polyurethane as a binder. These chemicals repel water completely. Attempting to clean them with soap merely spreads the oil across a wider surface area. You must use volatile organic compounds to reverse the curing process.
Mineral spirits, often sold as paint thinner, provide the most effective DIY solution. Apply the mineral spirits to a heavy cloth. Press it into the oil. The paint thinner chemically melts the polyurethane binder back into a liquid state. You must work in a highly ventilated room. The fumes are toxic and flammable.
If paint thinner fails to dissolve a fully cured spot, you must escalate to acetone. Acetone acts as an extremely aggressive solvent. It melts fully dried resins in seconds. However, acetone will permanently melt acetate floorings. You must confirm your floor is pure nylon or olefin before applying acetone. Apply it sparingly.
Commercial citrus solvents, such as Goo Gone, offer a safer alternative for residential users. These products use d-Limonene derived from orange peels to break down oils. They work slower than acetone but pose a significantly lower risk of melting the carpet backing.
What Are the Most Common Mistakes and How to Fix Them?
Homeowners routinely turn a temporary spill into a permanent eyesore through incorrect mechanical actions. You must avoid three specific failure modes to preserve your flooring.
First, applying heat permanently sets dyes. Many people intuitively reach for a steam cleaner or a hair dryer to accelerate the drying process. Heat causes the polymer chains in the synthetic plastics to open up. The pigment falls into the open chains. When the floor cools, the chains close, trapping the color forever. You cannot fix heat-set dyes. The only solution involves cutting out the affected section and patching it with donor material from a closet.
Second, over-wetting causes mold. Pouring cups of water onto the floor saturates the sponge-like pad beneath the surface. Surface fans cannot reach this deep moisture. According to the Carpet and Rug Institute (2023), over-wetting a carpet pad requires a minimum of 72 hours of professional fan drying to prevent microbial growth. If you over-wet the floor, you must rent a commercial extractor to pull the liquid from the subfloor immediately.
Third, scrubbing spreads the pigment horizontally. If you panic and scrub a small drop, you will create a massive smeared circle. To fix a smeared circle, you must stop immediately. Apply solvent to the outer perimeter of the newly smeared circle. Blot inward toward the center. Never blot from the center outward.
How Do You Troubleshoot Stubborn or Spreading Spots?
Chemical reactions do not always proceed as planned. You must monitor the visual feedback of the floor and adjust your strategy accordingly.
| Visual Symptom | Likely Chemical Cause | Immediate Action Requirement |
| The spot is spreading outward rapidly. | You applied too much liquid solvent at once. | Stop pouring. Switch to dry towels. Blot the outer edges inward immediately. |
| The original carpet color is fading. | The chemical solvent is bleaching the factory dye. | Stop immediately. Flush the area heavily with cold water to dilute the solvent. |
| The extracted area feels hard and crunchy. | Soapy residue dried inside the twisted strands. | Flush the pile with a mixture of white vinegar and water to neutralize the soap. |
| The spot disappeared but returned a day later. | Wicking pulled deep liquids back to the surface. | Repeat the blotting process with minimal moisture. Apply heavy weights during drying. |
Can You Learn How to Remove Wood Stain from Carpet Yourself?
Deciding whether to tackle this task yourself or hire a professional depends on the age of the spill and the value of the floor. Professional technicians possess truck-mounted extraction machines. These machines generate over 200 degrees of controlled heat and massive vacuum lift, paired with industrial enzymes unavailable to the public.
| Approach Method | 10-Minute Success Rate | 24-Hour Success Rate | Average Estimated Cost |
| DIY Household Solvents | 90% | 15% | $5 – $20 |
| Commercial Spot Cleaners | 95% | 25% | $15 – $30 |
| Professional Extraction | 99% | 75% | $150 – $300 |
Renters dealing with standard synthetic apartment flooring should attempt the DIY method first using mild soaps and alcohol. You risk losing a portion of your security deposit, but a $5 bottle of alcohol is worth the attempt.
Homeowners with high-end wool or silk Persian rugs must never apply DIY solvents. Natural fibers react unpredictably to hardware store chemicals. You will cause irreversible damage. Call a certified professional immediately. Keep the spill slightly damp with a cold water towel until the technician arrives.
How Do You Safely Dispose of Solvent-Soaked Materials?
The chemical solvents required for this task introduce severe household hazards. You cannot simply throw solvent-soaked towels into the kitchen trash can.
The Environmental Protection Agency (2022) guidelines state that rags soaked in mineral spirits can spontaneously combust if stored in a pile without air circulation. As the oil oxidizes, it generates heat. If the heat cannot escape the pile of towels, the temperature rises until the cloth catches fire.
You must lay every chemically soaked towel completely flat outside on a concrete surface. Allow the towels to dry in the open air for at least 24 hours. The volatile organic compounds will evaporate entirely into the atmosphere. Once the towels feel completely stiff and dry to the touch, you may safely dispose of them in a standard outdoor garbage receptacle. Never place solvent-soaked towels into a residential washing machine or dryer. The remaining fumes will ignite inside the dryer drum.
Frequently Asked Questions
Can you use bleach to clean spilled finishes out of flooring?
No. Bleach is an oxidizing agent that strips all factory dye from the fibers. While it might destroy the spilled pigment, it will leave a permanent white or yellow circle on your floor that cannot be reversed without professional redying.
Does WD-40 remove oil-based pigments?
WD-40 can act as a mild solvent for some oil-based residues. However, it introduces a heavy petroleum lubricant into the fibers. You will spend hours trying to extract the greasy WD-40 residue with dish soap afterward. Mineral spirits provide a much cleaner evaporation profile.
How do you lift dried finishes after a week?
You must attempt to rehydrate the hardened resin using strong solvents like acetone. The success rate drops significantly after 24 hours. Apply the acetone, cover it with a glass bowl to prevent rapid evaporation, wait five minutes, and attempt to scrape the softened sludge.
Will a steam cleaner help lift the color?
No. You must avoid steam cleaners entirely during the initial removal phase. Steam injects high temperatures into the plastic strands. This heat opens the polymer chains, allowing the pigment to permanently bond with the plastic. Steam guarantees the mark will never come out.
Can you use baking soda to lift the liquid?
Baking soda acts as a mild absorbent for wet spills. You can pour it over a fresh puddle to soak up the surface vehicle. However, baking soda lacks the chemical properties necessary to break down the actual binders. You still must use a solvent afterward.
The Bottom Line on Carpet Restoration
Restoring your floor requires matching the chemical solution strictly to the binder type of the spill. You must move quickly, avoid horizontal scrubbing, and extract the chemicals completely to succeed. Understanding how to remove wood stain from carpet ultimately comes down to patience and precise fluid extraction. If you respect the 10-minute window and use the correct solvents, you can save your flooring from permanent damage.


