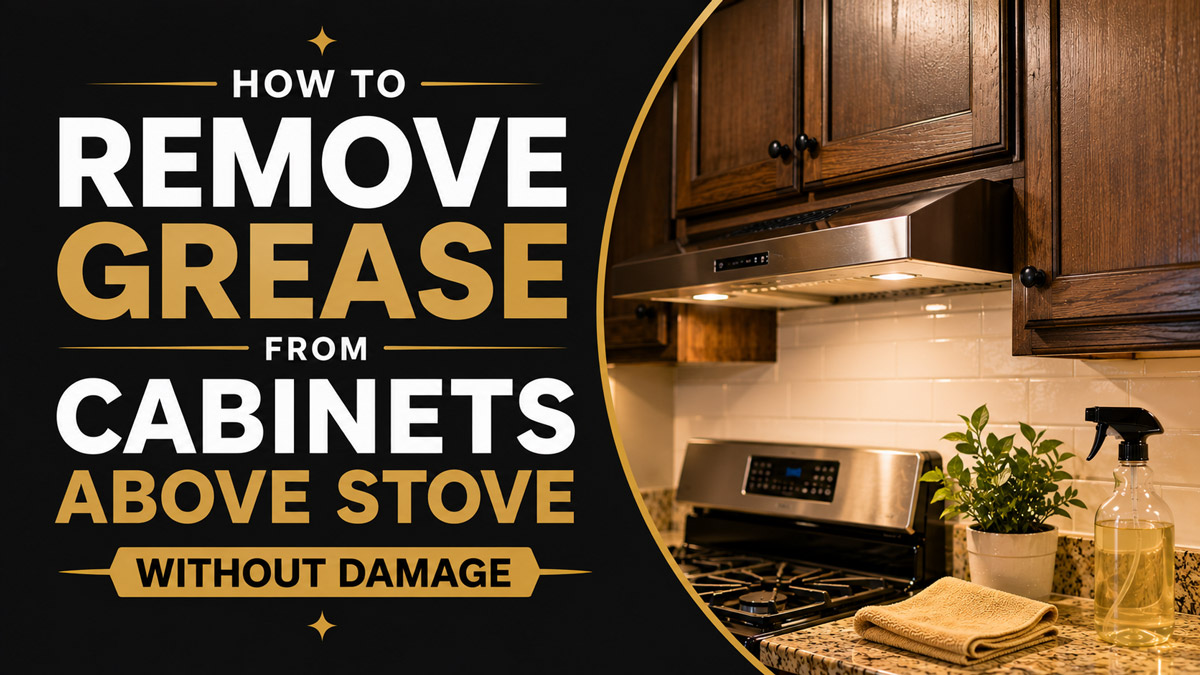
Learning how to remove grease from cabinets above stove without stripping the paint or leaving a sticky residue requires chemical emulsification rather than aggressive mechanical scrubbing. You must apply a targeted surfactant or mild alkaline paste, allow a three-minute dwell time, and execute a neutralizing rinse. This dissolves polymerized lipids safely while preserving the underlying wood finish.
Key Facts / At a Glance
- Ideal water temperature for softening cooking lipids ranges from 110 F to 130 F.
- Standard dish soap operates at a mild pH of 7 to 9 to provide safe surfactant action.
- Deep restorative degreasing takes 45 to 120 minutes depending on the thickness of the accumulation.
- Applying clear mineral oil rehydrates fossilized grease bonds through the chemical principle of like dissolving like.
- Leaving unrinsed cleaning residue creates a tacky film that accelerates future cooking dust accumulation.
Before You Start
Removing thick kitchen grime requires specific tools and precise timing to protect your cabinetry. Total time requirements range from 15 minutes for routine maintenance to two hours for deep restorative cleaning on neglected surfaces. The difficulty level is moderate. You will spend between $1 and $15 depending on whether you use household staples or commercial degreasers.
- Required Tools: Non-scratch polyurethane sponge, three 300 GSM microfiber towels, soft-bristled toothbrush, two plastic buckets.
- Materials: Blue dish soap (Dawn Ultra), baking soda, white vinegar. Optional: Commercial wood-safe degreaser or food-grade mineral oil.
- Prerequisites: Turn off the stove completely. Allow the cooking surface to cool to room temperature. Open a nearby window or activate the range hood to ensure adequate ventilation if using commercial chemical sprays.
The Science of Kitchen Cabinet Grease
Kitchen cabinet grease is a stubborn composite material formed when airborne lipids settle on cold upper surfaces and polymerize over time. Animal fats and unsaturated vegetable oils aerosolize during high-heat cooking. These microscopic droplets float upward on thermal currents and land on the cabinetry directly above the stove. Oxygen exposure causes these oils to cross-link and harden. This sticky layer binds with airborne household dust to form a cement-like, yellow-brown shell.
Breaking this shell safely requires specific chemical mechanisms. Emulsification occurs when surfactants possess molecules with a hydrophilic (water-attracting) head and a lipophilic (fat-attracting) tail. The tails lock onto the grease molecules. The heads then pull the fat into the water suspension so you can wipe it away effortlessly.
Saponification provides a different mechanism for heavier accumulations. Alkaline agents chemically convert fats and fatty acids into a water-soluble soap substance via hydrolysis. This reaction breaks down the mechanical bond holding the grime to the cabinet finish. Understanding these mechanisms ensures you dissolve the binder rather than scraping away your clear coat.
How Do Cleaning Agents Compare For Grease Removal?
Comparing cleaning agents based on their pH level and chemical mechanism prevents irreversible damage to your kitchen finishes. A standard rule of thumb among professional cabinet refinishers is to never use a cleaning agent with a pH higher than 9 on painted wood.
| Cleaning Option | Typical pH Level | Chemical Mechanism | Safe Cabinet Materials | Typical Cost Per Application |
| Dish Soap & Hot Water | 7 to 9 | Surfactant Emulsification | Painted, Stained, Laminate, Thermofoil | $0.25 |
| Baking Soda Paste | 8.5 to 9.5 | Mild Saponification & Light Abrasion | Laminate, Thermofoil, Polyurethane | $0.50 |
| Food-Grade Mineral Oil | Neutral | Rehydration (Like dissolves like) | Stained Wood, Unfinished Wood | $1.00 |
| Commercial Wood Cleaner | 7 to 8 | Formulated Emulsification | Stained Wood, Clear-Coated Veneers | $1.50 |
| Trisodium Phosphate (TSP) | 12 to 13 | Aggressive Saponification | Pre-painting preparation only | $2.50 |
Step 1: Prep and Dust the Cabinet Surface
Prepping and dusting the cabinet surface removes loose particulate matter before any liquid touches the wood. Vacuum the upper cabinets using a soft brush attachment, or wipe them down with a completely dry microfiber cloth. You must remove pet hair, cobwebs, and loose dust first.
Adding liquid cleaners directly to dusty cabinets creates a muddy, abrasive slurry. Wiping this slurry pushes fine particles deeper into the wood grain and micro-scratches the clear coat. You will know this step worked when the cabinet surface feels dry but lacks loose debris.
Common Mistake at this Step: Using a wet rag for the initial wipe. Introducing moisture too early traps the dust under a layer of water, forcing you to scrub harder during the degreasing phase.
Step 2: Apply the Cleaning Solution and Dwell
Applying the cleaning solution properly requires heat and patience to activate the chemical emulsification. Fill a bucket with water heated to exactly 110 F to 130 F. Hot water softens the lipid matrix before the cleaner even activates. Mix one tablespoon of concentrated blue dish soap per two cups of hot water. Dip a non-scratch sponge into the solution and wring it out until it is damp, never dripping wet. Press the damp sponge gently against the greasiest spots and let the moisture sit for two to three minutes.
This dwell time allows the surfactants to liquefy the hardened bonds. Without dwell time, the soap cannot penetrate the polymerized shell. You will know it worked when the yellow-brown grease turns slightly cloudy and feels soft to the touch.
Common Mistake at this Step: Scrubbing immediately after application. Impatience forces you to rely on mechanical abrasion rather than chemical emulsification, which risks peeling the cabinet paint.
Step 3: Agitate Gently Following the Wood Grain
Agitating the softened grease requires light pressure and directional wiping to protect the underlying texture. Wipe the surface in tight circular motions to lift the heavy spots, then transition to linear strokes that follow the natural wood grain pattern. Use an old, soft-bristled toothbrush to clear away gunk hiding inside shaker-style crevices, molding lines, and hardware cutouts.
Keep your physical pressure exceedingly light. Let the chemistry do the heavy lifting. You will know it worked when the sponge pulls away a thick, discolored slurry without encountering physical resistance.
Common Mistake at this Step: Using heavy abrasive tools. Green scrubby pads, steel wool, and magic erasers function like fine-grit sandpaper. They will permanently strip the clear gloss coat off your cabinetry.
Step 4: Rinse and Neutralize the Surface
Rinsing the cabinet neutralizes the cleaning agents and pulls away the suspended fat molecules. Wipe the cabinet down with a separate, clean microfiber cloth dampened purely with warm water. Add a small splash of white vinegar (one part vinegar to ten parts water) to your rinse bucket. The mild acidity of the diluted vinegar neutralizes the alkaline soap residue instantly.
You must remove all the soapy slurry entirely. You will know it worked when the surface no longer produces soap bubbles when wiped and the cloth comes away clean.
Common Mistake at this Step: Neglecting the rinse step completely. Leaving evaporated soap or cleaner residue behind creates an invisible, tacky film that acts like a magnet for future cooking dust.
Step 5: Dry and Buff the Finish
Drying the finish immediately prevents water intrusion and restores the factory sheen of the cabinetry. Wipe the entire surface with a clean, bone-dry microfiber towel. Target all seams, edge bandings, and the undersides of the cabinet boxes. You must buff the surface in tight circles to eliminate water streaks.
Medium-density fiberboard (MDF) and laminate materials will swell, warp, and split if water pools in the joints for even a few minutes. You will know this step worked when the cabinet feels completely smooth and dry to the back of your hand.
Common Mistake at this Step: Letting the cabinets air dry. Natural evaporation leaves hard water spots and provides moisture enough time to penetrate weak points in wood veneers.
Which Methods Work Best For Different Cabinet Materials?
Matching your degreasing method to your specific cabinet material prevents accidental chemical damage.
For Painted Wood Cabinets: Stick strictly to diluted dish soap and hot water. Avoid heavy industrial solvents and high-pH degreasers. Highly alkaline solutions can liquefy latex-based and acrylic cabinet paints, causing the color to rub off onto your sponge.
For Stained or Natural Wood Cabinets: Use hot water with dish soap or a dedicated pH-neutral formula like Murphy Oil Soap. Raw or stained wood absorbs moisture rapidly. Finish the cleaning process by applying a conditioning agent like Weiman Wood Polish to rehydrate the wood and preserve its protective seal.
For Laminate and Thermofoil Cabinets: Utilize a mild baking soda paste (two parts baking soda to one part dish soap) for stubborn areas. Laminate resists physical scratching better than paint, but the underlying glue holding the thermofoil layer can melt and peel if exposed to pooling water or aggressive solvents.
How Do You Fix Unexpected Issues During Degreasing?
Even with proper technique, heavily neglected kitchens present unique material challenges. Troubleshooting these issues requires adjusting your chemical approach rather than increasing your physical scrubbing force.
| Unexpected Issue | Root Cause | Recovery Action | Prevention Strategy |
| Surface stays sticky after wiping | Grease is only partially dissolved | Apply fresh solution and double the dwell time to 5 minutes | Clean cabinets every two weeks |
| Finish looks dull or white | Cleaning agent stripped top protective oils | Apply a high-quality wood conditioner to restore natural sheen | Use a lower pH cleaner |
| Paint peeling near handles | Moisture intrusion under compromised paint | Sand the edges gently and apply touch-up primer | Dry all seams immediately with a towel |
| Hard white residue left in corners | Dried baking soda paste accumulation | Rehydrate with warm vinegar-water and wipe clean | Rinse thoroughly before the paste dries |
What Are the Costs of DIY Versus Professional Cleaning?
Evaluating the cost of grease removal involves measuring the value of your time against professional chemical application.
DIY household methods cost between $1 and $5 for basic supplies like dish soap, baking soda, and vinegar. Upgrading to commercial wood-safe degreasers pushes the cost to a typical range of $5 to $15 per bottle.
Professional deep cleaning services typically charge $150 to $300 to degrease a standard kitchen. This price scales up to $500 for heavily soiled kitchens or extreme, years-old damage requiring pre-renovation preparation. If you plan to repaint the cabinets anyway, professionals wash them thoroughly using a diluted solution of Trisodium Phosphate (TSP). This heavy-duty compound fully strips away all lipid barriers to allow new primers and paints to adhere properly, but it requires professional safety gear to apply safely.
How Can You Prevent Kitchen Grease Buildup?
Preventing lipid polymerization saves hours of intensive restoration work. Proper airflow management acts as your primary defense against sticky cabinetry.
Turn your range hood exhaust fan on five minutes before you begin cooking. This establishes a vertical thermal draft that pulls aerosolized oil droplets out of the room before they can drift sideways. Leave the fan running for ten minutes after you finish cooking to clear residual airborne particles. Professional kitchen ventilation installers recommend a minimum range hood capacity of 100 CFM (Cubic Feet per Minute) for every 10,000 BTUs of stove output to capture grease effectively.
Clean your metal hood filters every 30 days. Blocked filters force grease-laden air to bounce off the metal mesh, bypass the hood entirely, and settle directly on the cabinets above. Place splatter screens over frying pans to physically contain oil droplets. Implement a basic maintenance schedule by wiping down the cabinet doors directly above the stove every two weeks with a mild, hot dish soap solution.
How to Remove Grease From Cabinets Above Stove Without Harsh Chemicals
If you maintain a non-toxic household, you can execute a chemical-free degreasing process using only food-grade ingredients. The rehydration paste method utilizes the “like dissolves like” principle.
Mix two parts baking soda with one part vegetable oil or mineral oil to form a thick, toothpaste-like consistency. Rub this paste directly onto the sticky grease patches. The fresh oil hydrates the old, dried lipids, softening the polymerized matrix safely. The baking soda provides a very mild abrasive texture to lift the softened gunk without scratching the clear coat. Let the paste sit for ten minutes, wipe it away with a warm cloth, and follow up with a light soapy wash to remove the excess fresh oil.
Frequently Asked Questions
How often should I clean the cabinets above my stove?
You should wipe down the cabinets directly above the stove every two weeks using mild dish soap and hot water. Catching the airborne lipids before they polymerize and cross-link with household dust prevents the formation of hard, sticky composite shells.
Can I use straight white vinegar to degrease wood cabinets?
No, you should never use un-diluted white vinegar on raw wood or clear coats. Vinegar is a highly acidic liquid (pH 2.5) that will dull, etch, or permanently cloud clear lacquer finishes over time. Always dilute it heavily and use it primarily as a brief rinsing agent.
Is Dawn Powerwash safe for painted wood cabinets?
Dawn Powerwash operates at a higher pH (approximately 11) than standard blue dish soap. While it cuts through grease faster, this high alkalinity carries a greater risk of dulling latex-based paints or stripping protective oils from natural wood if left to dwell for longer than a few minutes.
Why do my cabinets look dull after removing the grease?
Your cabinets look dull because the cleaning agent stripped away the top layer of protective oils along with the grease. You can repair the surface easily by applying a high-quality wood conditioner or polishing oil to hydrate the wood and bring back its natural sheen.
What is the best tool for cleaning cabinet crevices?
An old, soft-bristled toothbrush is the safest and most effective tool for cleaning cabinet seams, shaker-style corners, and molding lines. The soft nylon bristles agitate the dissolved grease out of the tight right angles without scratching the surrounding paint or finish.
Ultimately, mastering how to remove grease from cabinets above stove without stripping the finish comes down to patience and basic chemistry. Rely on adequate dwell time and hot water rather than heavy abrasive scrubbing, and always dry your wooden surfaces completely to maintain a pristine, damage-free kitchen.


