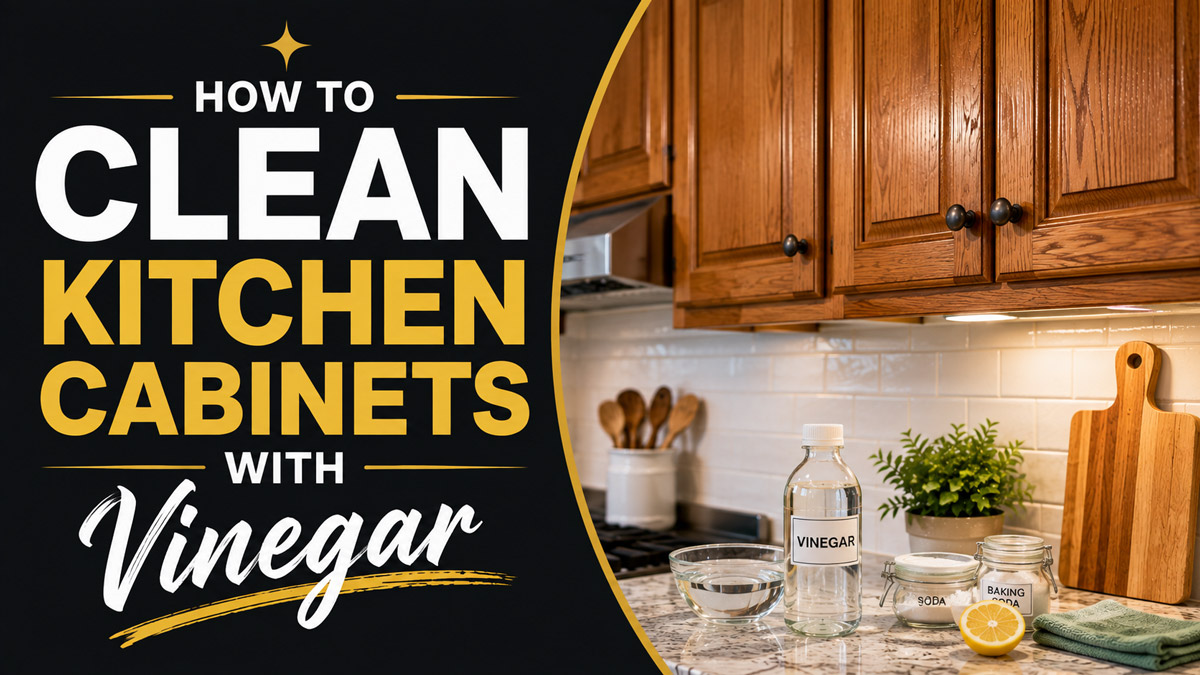
Learning how to clean kitchen cabinets with vinegar requires a strict one-to-one dilution of five percent white distilled vinegar and warm water. This acidic solution effectively breaks down polymerized cooking grease and neutralizes alkaline food splatters. Applying the mixture with a damp microfiber cloth removes heavy grime without degrading underlying polyurethane or painted factory finishes.
Key Facts / At a Glance
- Optimal Solution: One part five percent white distilled vinegar mixed with one part warm distilled water.
- Active Chemical: Acetic acid carries a mild pH of 2.4 to 2.5, acting as a natural solvent for kitchen lipids.
- Safe Surfaces: Sealed hardwood, thermofoil, melamine, and factory-painted finishes tolerate mild acids well.
- Unsafe Surfaces: Unsealed raw wood, waxed finishes, and adjacent natural stone countertops will sustain damage.
- Average Cost: A standard sixteen-ounce spray bottle application costs between five and eight cents to mix.
- Total Drying Time: Moisture must be removed from wood surfaces within two minutes to prevent warping.
Before You Start
- Total Time Required: 25 to 45 minutes for a standard ten-foot by ten-foot kitchen space.
- Difficulty Level: Beginner to Intermediate.
- Total Cost: Under $5.00 for a one-gallon jug of standard household vinegar and basic supplies.
- Tools and Materials Needed: One gallon of 5% white distilled vinegar, three to five 300-GSM microfiber cloths, a clean sixteen-ounce trigger spray bottle, and pH-neutral liquid dish soap.
- Crucial Prerequisite: Remove all loose surface dust with a completely dry microfiber cloth before applying any liquid solution. Wetting loose dust creates an abrasive mud that scratches cabinet clear coats.
Understanding Kitchen Grease and Acetic Acid
Cooking naturally releases airborne triglycerides that settle on vertical kitchen surfaces. Over a period of days, these oils oxidize and polymerize, transforming from a slick liquid into a sticky, hardened resin. Traditional water cannot dissolve polymerized grease because lipids are hydrophobic. The acetic acid in vinegar acts as a mild solvent. The acid penetrates the hardened lipid structure and breaks the structural bonds of the grease.
Professionals in kitchen restoration rely on specific acid concentrations to achieve this without harming the wood. Standard white distilled vinegar contains exactly five percent acetic acid. This concentration provides enough solvent power to dismantle sticky fingerprints and grease splatters without eating through nitrocellulose lacquer or modern catalyzed varnishes. Using stronger acids accelerates the cleaning process but drastically increases the risk of stripping the protective topcoat entirely.
The Core Requirements for Safe Cleaning
Selecting the correct materials dictates the success of the entire process. The consumer market offers several grades of vinegar, and choosing the wrong variant guarantees property damage. White distilled vinegar at five percent acidity stands as the universal baseline for residential cleaning. It leaves zero residue, contains no coloring agents, and evaporates cleanly.
Cleaning vinegar, typically sold at six percent acidity, offers twenty percent more solvent power than standard table varieties. This six percent variant effectively handles severely neglected kitchens but requires immediate rinsing. You must never use industrial or horticultural vinegar on indoor cabinetry. These products contain twenty to thirty percent acetic acid. Industrial variants will strip paint instantly, cause severe chemical burns to human skin, and emit fumes that damage respiratory tracts.
Step 1: Mix the Exact Cleaning Solution
Creating the correct solution requires precise measurement and temperature control. Warm water increases the kinetic energy of the solution, allowing the acetic acid to penetrate grease layers significantly faster than cold water.
Fill a clean sixteen-ounce spray bottle halfway with warm water. The ideal water temperature sits between 105 and 115 degrees Fahrenheit. Add exactly eight ounces of five percent white distilled vinegar to the bottle. For kitchens with heavy, sticky buildup above the stove, add exactly two drops of standard liquid dish soap. The dish soap acts as a surfactant, reducing the surface tension of the water and allowing the acid to spread evenly across the grease layer rather than beading up on the surface. Close the bottle and shake gently to incorporate the soap without creating excessive foam.
You will know the mixture is correct when it sprays as a fine, uniform mist rather than a thick stream. A common mistake during this step involves adding too much dish soap. Adding more than two drops leaves a stubborn, soapy film on the wood that requires gallons of fresh water to rinse away, exposing the cabinets to severe water damage.
Step 2: Pre-Test the Cabinet Finish
Every cabinet manufacturer uses different chemical topcoats, and you must verify that your specific finish can withstand mild acid exposure. Even high-end custom cabinetry can feature specialized glazes that react poorly to vinegar.
Select an inconspicuous area of your cabinetry, such as the back of a lower door near the floor hinges. Spray a single mist of your mixed solution onto a cloth and wipe a two-inch square section. Wait exactly two minutes. Wipe the area completely dry with a fresh towel. Inspect the spot from multiple angles under bright light.
You will know the finish is safe when the test area looks identical to the surrounding wood, simply cleaner. The test fails if the spot turns cloudy, loses its glossy sheen, or becomes tacky to the touch. A tacky finish indicates that the acid is actively dissolving the protective polyurethane or lacquer. The most common mistake at this stage is skipping the test entirely on older cabinets, assuming that all wood behaves exactly the same way under chemical stress.
Step 3: Apply to a High-Density Cloth
Applying the solution correctly prevents structural damage to the cabinet doors. Liquid inherently flows downward, and spraying doors directly guarantees that the solution will pool inside joints and hardware cavities.
Take a clean, dry microfiber cloth rated at 300 to 400 GSM (grams per square meter). Hold the spray bottle six inches away from the cloth and apply three to four squirts of the vinegar solution directly to the fabric. The cloth should feel damp to the touch, but it should not drip any liquid when squeezed tightly.
You will know the application is correct when the cloth glides smoothly over the wood, leaving a very thin trail of moisture that begins evaporating within five seconds. A major mistake is spraying the solution directly onto the vertical cabinet face. Direct spraying causes liquid to run down the front of the door and pool in the bottom frame rail. Over time, this pooled liquid seeps into the wood joints, causing medium-density fiberboard (MDF) cores to swell permanently and solid wood joints to crack.
Step 4: Wipe Down in Sections
Methodical wiping patterns ensure you remove grease rather than simply smearing it across the surface. Cabinet doors feature complex topography that traps dirt in specific pinch points.
Start at the highest cabinet in the room and work your way down. Wipe the flat center panel of the door first, moving the cloth in the direction of the wood grain. Next, clean the recessed edges where the center panel meets the outer frame. Finally, wipe the outer frame itself. Pay close attention to the area directly surrounding the hardware pulls, as human hands deposit highly acidic skin oils there daily.
You will know the technique is working when the cloth begins picking up a yellow or brown tint, and the cabinet surface feels physically smooth rather than tacky. A frequent mistake during this step is using the same cloth for the entire kitchen. Once a microfiber cloth becomes saturated with dissolved grease, it stops absorbing dirt and begins redepositing a hazy film onto the next cabinet. Switch to a fresh, clean cloth after washing every three to four doors.
Step 5: Address Heavy Grime Accumulations
Certain areas of the kitchen, specifically the panels flanking the range hood, accumulate thick layers of polymerized grease that a simple wipe will not remove. The common internet advice to mix baking soda and vinegar here is chemically flawed.
Mixing baking soda (a base) with vinegar (an acid) creates an immediate reaction that yields water, carbon dioxide gas, and sodium acetate. Once the bubbling stops, you are left with salty water holding zero degreasing power. Instead, address stubborn grime with dwell time. Spray your cloth until it is heavily damp. Press the damp cloth directly against the sticky spot and hold it there for sixty seconds. The prolonged contact allows the acetic acid to break the hardened lipid bonds. Wipe away the softened grease with firm pressure.
You will know the spot is defeated when the surface yields no resistance to the cloth. The primary mistake here is using an abrasive scrubbing pad. Scouring pads easily chew through softened grease, but they also cut microscopic trenches into the clear coat, permanently dulling the finish and creating valleys where future grease will accumulate faster.
Step 6: Rinse and Dry the Surface Completely
Leaving acidic residue on wood finishes accelerates degradation over time. You must neutralize the surface and remove all introduced moisture to maintain the structural integrity of the cabinet.
Take a fresh microfiber cloth and dampen it lightly with pure, warm distilled water. Wipe the entire cabinet door a second time to remove any lingering vinegar or dissolved grease molecules. Immediately follow this damp wipe with a completely dry, highly absorbent towel. Buff the surface in circular motions to pull every trace of moisture out of the wood grain and hardware crevices.
You will know the process is complete when the cabinet feels cool and completely dry to the back of your hand, emitting no sour odor. A catastrophic mistake is allowing the cabinets to air-dry. Air-drying leaves mineral deposits on the surface and gives moisture time to penetrate microscopic cracks in the finish, leading to bubbling paint and expanding wood fibers.
How Do Specific Cabinet Materials React?
Different manufacturing materials possess unique chemical tolerances. Tailoring your approach to the specific substrate prevents expensive permanent damage. The table below outlines how common cabinet materials respond to acetic acid solutions.
Cabinet Finish Maintenance Requirements
| Finish Material | Vinegar Tolerance | Recommended Action | Drying Requirement |
| Factory Painted | High | Standard 1:1 mixture | Immediate towel dry |
| Stained Hardwood | Moderate | Standard 1:1 mixture | Immediate towel dry |
| Thermofoil / Laminate | Very High | 6% cleaning vinegar | Air dry acceptable on flats |
| Raw / Oiled Wood | Zero | Avoid completely | Not applicable |
Painted cabinets generally feature catalyzed enamel finishes that resist mild acids exceptionally well. You can clean these safely with the standard mixture. Stained wood cabinets rely on clear polyurethane or lacquer topcoats. These clear coats endure vinegar well, but the underlying wood expands violently if moisture breaches the clear coat. Thermofoil cabinets consist of vinyl shrink-wrapped over engineered wood cores. The vinyl itself is virtually impervious to vinegar, making it very easy to clean, but any liquid that seeps behind the vinyl edges will cause the core to expand and the vinyl to peel away permanently.
Dealing with Kitchen Cabinet Hardware
Hardware requires distinct care because acids react aggressively with certain metal alloys. Modern cabinet pulls typically feature zinc cores plated with brushed nickel, chrome, or brass.
Vinegar easily dissolves the alkaline water spots and finger oils that accumulate on metal hardware. The standard one-to-one dilution is generally safe for sealed, modern hardware if dried immediately. However, unsealed brass, copper, and oil-rubbed bronze hardware will undergo a chemical reaction when exposed to acetic acid. The acid strips the intentional patina from oil-rubbed bronze, leaving bright, uneven brass spots behind.
- Practitioner Insight: The Hardware Removal Rule. When performing a bi-annual deep clean, remove the hardware entirely before spraying any liquids. Cleaning the hardware separately in a basin of warm soapy water prevents acid from pooling in the screw holes. Pooling liquid in screw holes is the primary cause of stripped cabinet threads, as the wet wood softens and loses its grip on the metal screws.
Common Mistakes and How to Fix Them
Even careful practitioners occasionally encounter finish issues. Understanding how to reverse common errors saves immense time and stress.
The Vinegar Smell Lingers for Hours
Acetic acid possesses a sharp, distinct odor. When applied correctly and dried immediately, the smell dissipates entirely within thirty minutes. If the sour smell persists for hours, it indicates that liquid has seeped into unsealed wood edges or pooled inside the cabinet box. To fix this, open all doors and direct a high-speed fan at the affected area. To prevent the smell in the future, add three drops of lavender or lemon essential oil to your spray bottle to mask the initial odor during application.
A Cloudy Haze Appears on the Finish
A white or gray haze appearing after cleaning signifies that the vinegar has interacted with an existing layer of commercial furniture wax. Acetic acid breaks down soft waxes unevenly, creating a cloudy appearance. You must strip the remaining wax entirely to restore the finish. Wipe the hazy area with a cloth dampened in warm water and two drops of dish soap, then dry it quickly.
The Wood Appears Dull and Dry
Vinegar acts as an effective degreaser, meaning it strips away both unwanted cooking oils and beneficial conditioning oils present in some wood finishes. If older stained wood looks parched after cleaning, you must rehydrate the surface. Apply a thin layer of dedicated wood conditioner or food-grade mineral oil with a clean cloth. Buff the oil into the grain to restore the deep, rich shine.
Commercial Cleaners Versus Natural Solvents
The cleaning industry markets heavily formulated alkaline degreasers specifically for kitchens. While effective, these products carry significant environmental and financial trade-offs compared to acetic acid solutions.
5-Year Cost Projection: Vinegar vs. Commercial Degreasers
| Product Category | Cost per 16oz Bottle | Annual Cost (24 Cleans) | 5-Year Total Cost |
| DIY Vinegar Solution | $0.06 | $1.44 | $7.20 |
| Budget Commercial Brand | $4.50 | $108.00 | $540.00 |
| Premium Wood Cleaner | $12.00 | $288.00 | $1,440.00 |
Commercial cabinet cleaners often rely on ethanolamines and synthetic solvents to melt grease quickly. These chemicals leave behind a microscopic waxy residue designed to make the wood look shiny in the short term. Over several years, this synthetic residue builds up into a dark, sticky layer that attracts dust and requires heavy chemical stripping to remove. Vinegar leaves zero residue. Furthermore, commercial sprays release volatile organic compounds (VOCs) into the indoor air. The Environmental Protection Agency notes that indoor VOC concentrations routinely measure two to five times higher than outdoor levels, largely due to household cleaning agents. Vinegar provides a VOC-free mechanism for maintaining kitchen hygiene.
Routine Maintenance Schedules
Preventing grease polymerization takes vastly less effort than removing it. Establishing a strict maintenance calendar protects the cabinet finish from severe chemical intervention.
Perform a light maintenance wipe every two weeks. Focus solely on the doors immediately surrounding the stove and the sink, as these areas catch ninety percent of airborne oils and water splashes. Use a highly diluted mixture of one part vinegar to four parts water for this bi-weekly task.
Schedule a comprehensive deep clean every six months. Empty the cabinets entirely, vacuum the interior shelves, and use the standard one-to-one vinegar solution to clean both the interior boxes and the exterior faces. Regular bi-weekly maintenance prevents the grease from hardening, meaning the six-month deep clean will require zero heavy scrubbing.
Frequently Asked Questions
Can vinegar ruin kitchen cabinets?
Vinegar will ruin cabinets if it is allowed to pool in joints, if the concentration exceeds six percent, or if it is applied to raw, unsealed wood. When diluted correctly and dried immediately, it is completely safe for sealed factory finishes.
Does vinegar disinfect kitchen surfaces?
Acetic acid inhibits the growth of common household bacteria due to its low pH, but the EPA does not classify it as a registered disinfectant. It will not reliably kill dangerous pathogens like salmonella or E. coli on contact.
Should I mix bleach and vinegar for a stronger clean?
You must never mix bleach and vinegar under any circumstances. Combining an acid with sodium hypochlorite (bleach) releases toxic chlorine gas into the air, which causes severe respiratory damage and can be fatal in enclosed spaces.
Can I clean glass cabinet inserts with this solution?
Yes, the one-to-one vinegar and water mixture serves as an exceptional glass cleaner. Spray the solution onto a flat-weave microfiber cloth and wipe the glass to remove grease without leaving streaks.
Why are my cabinets still sticky after cleaning?
If cabinets remain sticky, you likely encountered a heavily polymerized grease layer that requires longer dwell time. Reapply a damp vinegar cloth to the sticky area, hold it for sixty seconds, and wipe firmly to break the remaining lipid bonds.
The Bottom Line on How to Clean Kitchen Cabinets with Vinegar
Mastering how to clean kitchen cabinets with vinegar comes down to managing moisture and respecting chemical boundaries. A simple one-to-one dilution of white distilled vinegar provides enough acidic power to break down stubborn kitchen grease without compromising modern wood finishes. Success relies entirely on indirect application using high-density microfiber cloths and strict adherence to immediate towel drying. By avoiding abrasive scrubbing and excess liquid, you can maintain pristine cabinetry for decades using only natural, cost-effective solvents.


