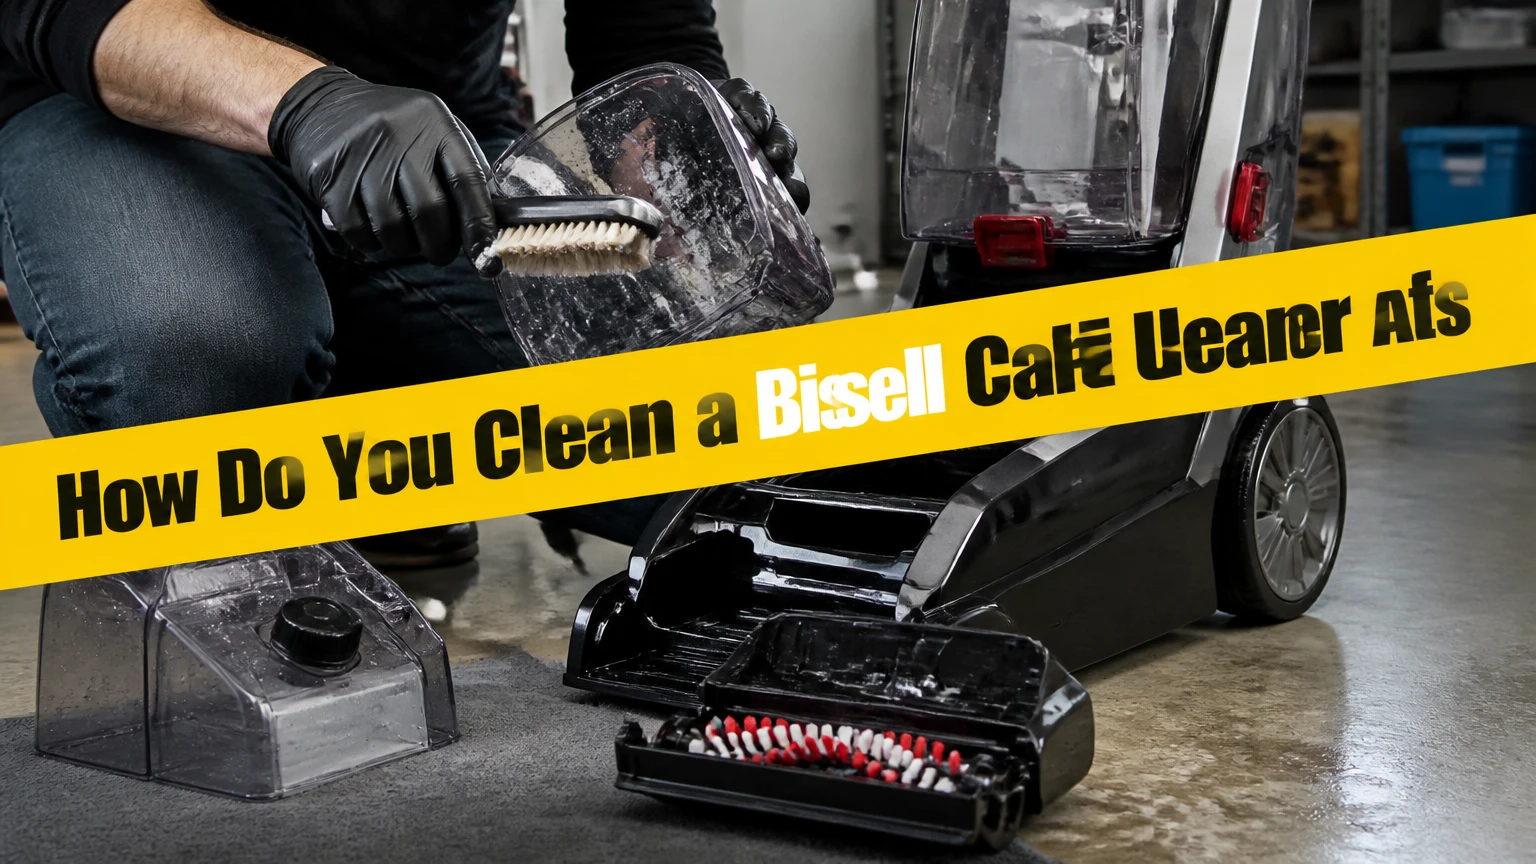
To clean a Bissell carpet cleaner, unplug it, empty and rinse both tanks, clear the nozzle and brush roll, rinse the hose or upholstery tool, then let removable parts dry completely before storage. A clean-water rinse may flush formula from some models, but the owner’s manual takes priority because tank, filter, and nozzle designs differ.
Key Facts at a Glance
Clean a Bissell carpet cleaner immediately after every use, especially after pet accidents or heavily soiled rooms.
Unplug the machine before removing a nozzle, brush roll, hose, filter, or belt cover.
Use warm tap water, not boiling water, in a rinse tank unless the model manual specifies another method.
Never seal wet tanks, hoses, filters, or tools inside the machine or a closet.
Bissell portable spot cleaners and upright extractors require different nozzle, hose, and brush-roll procedures.
Dish soap, laundry detergent, and unapproved formulas can create foam and leave residue in the extraction system.
What Do You Need Before Cleaning a Bissell Machine?
A routine Bissell carpet cleaner cleanup takes about 10-20 minutes, excluding drying time, and requires no chemical disinfectant. Prepare a sink or utility basin, warm water, an absorbent towel, a soft brush or old toothbrush, scissors, and the model’s supplied nozzle-cleaning tool if one came with the machine.
Check the model label before removing anything. Bissell sells portable machines such as Little Green and SpotClean, upright extractors such as ProHeat and Revolution, and commercial machines such as Big Green and BG10. Their tank latches, filters, brush access panels, and cleaning instructions are not interchangeable.
| Item | Typical quantity | Purpose | Safety limit |
|---|---|---|---|
| Warm tap water | 1-2 gallons | Rinse tanks, hose, nozzle, and tools | Do not use boiling water |
| Absorbent towels | 2-3 | Catch drips and wipe seals | Wash after use |
| Soft brush or toothbrush | 1 | Remove lint and dried residue | Avoid stiff metal bristles |
| Scissors | 1 pair | Cut hair from brush rolls | Keep away from belts and wiring |
| Owner’s manual | 1 | Confirm removable parts and rinse method | Follow model-specific instructions |
Do not begin by opening the motor housing. Routine maintenance covers the water path and debris areas; electrical repairs, pump replacement, and sealed motor work belong to an authorized service provider.
How Do You Clean a Bissell Carpet Cleaner Step by Step?
The reliable sequence is: disconnect power, recover leftover solution, empty the dirty tank, rinse the water path, clean the nozzle and brush area, rinse attachments, and dry every removable part. The most important success factor is complete drying because trapped moisture and formula residue cause odor, restricted airflow, and sticky valves.
Step 1: Turn Off, Unplug, and Inspect the Machine
Switch off the Bissell carpet cleaner and unplug it before touching tanks, nozzles, brushes, or hose connections. Move the machine to a waterproof surface with enough room to place wet components separately.
Inspect the exterior for leaks, loose tank latches, cracked plastic, or formula around the base. Photograph a damaged part before disassembly if the machine remains under warranty.
Success checkpoint: The power cord is disconnected, the machine is stable, and every removable part is identified.
Common mistake: Pulling a nozzle or tank from a powered machine can expose moving brush components and may damage a latch.
Step 2: Empty the Clean and Dirty Water Tanks
Remove the clean-water or formula tank first and pour unused mixture into an appropriate drain. Do not leave diluted formula inside the tank between uses because surfactants can settle, thicken, or leave a film around the valve.
Remove the dirty-water tank, open its lid, and empty wastewater into a toilet, utility sink, or drain. Rinse the tank, lid, gasket, float chamber, and any removable lint screen with warm tap water. Use a soft brush for hair and sediment.
Bissell dirty tanks commonly use a float or float stack that stops suction when wastewater reaches a limit. The float must move freely. Do not force it, glue it open, or remove it permanently.
Success checkpoint: The tank interior has no visible hair, sludge, or formula film, and the float moves without sticking.
Common mistake: Rinsing only the tank basin while leaving residue inside the lid, float chamber, or gasket groove.
Step 3: Rinse the Water Path When the Manual Allows It
Some Bissell carpet cleaners can receive a clean-water rinse through the spray and suction path. If the owner’s manual permits that procedure, fill the clean tank with warm tap water only, recline the handle as directed, and run the machine over a washable surface while briefly pressing the spray trigger.
Follow the model’s stated duration rather than applying a universal 15-second rule. After spraying, make several trigger-free suction passes to recover rinse water. Portable machines may instead require rinsing the hose and tool directly at a sink.
A rinse removes loose formula residue. It does not replace tank cleaning, nozzle cleaning, or drying.
Success checkpoint: The recovered water becomes clear, the trigger releases normally, and no strong detergent smell remains in the outlet path.
Common mistake: Running a rinse cycle without checking whether the model allows water-only operation. Some designs specify direct tool or hose rinsing instead.
Step 4: Remove and Clean the Floor Nozzle
Detach the clear floor nozzle, nozzle cover, or suction window according to the manual. Rinse the part from both directions, then remove carpet fuzz, pet hair, and grit from the narrow suction channel with a soft brush or the supplied cleaning tool.
Do not push a sharp pin deep into a spray jet. A punctured spray opening can change the spray pattern and cause uneven wetting. If a spray tip is blocked, wipe the exterior and use only the tool or method specified for that model.
Inspect the nozzle seal for flattened edges, splits, or formula buildup. A damaged seal can admit air and reduce water pickup.
Success checkpoint: Light passes through the nozzle channel, the spray openings are unobstructed, and the seal sits flat.
Common mistake: Reinstalling a nozzle with one side partially clipped. An uneven fit often causes leaking or weak suction.
Step 5: Clean the Brush Roll and Undercarriage
Lay an upright Bissell extractor back only as far as the manual permits, or place it in its approved service position. Portable machines may have a small brush head rather than a powered floor roll, so clean the head and bristle cavity instead.
Cut wrapped hair and thread with scissors, working parallel to the brush shaft. Pull debris away from the end caps, bearings, belt, and drive gear without cutting rubber components. Wipe the undercarriage and wheel wells with a damp cloth, then remove loose fibers by hand.
A brush roll can appear clean while hair remains tightly packed around its end bearings. That hidden wrap increases motor load and can stop the roller.
Success checkpoint: The brush roll turns by hand with steady resistance and no scraping, grinding, or side-to-side looseness.
Common mistake: Spraying water into the brush motor, belt housing, or electrical connector. Use a damp cloth in those areas instead.
Step 6: Rinse the Hose, Upholstery Tool, and Accessories
Disconnect the hose and attachments. Hold the hose so water can travel through its full length, then rinse the upholstery tool, crevice tool, stair tool, and any removable brush head.
For a portable Bissell, the tool often carries more concentrated pet hair and residue than the main tank. Run warm water through the tool until the outlet is clear, then shake out standing water. Do not use compressed air near electrical parts or force water into a motorized tool head unless the manual says it is washable.
Check hose connectors and O-rings for hair or grit. A small obstruction at either connector can restrict airflow even when the hose looks clear.
Success checkpoint: Water passes through the hose and tool without backing up, and no debris falls out when the attachment is tilted.
Common mistake: Storing the hose coiled tightly while wet. The inner wall can retain a film and develop odor.
Step 7: Dry and Reassemble the Carpet Cleaner
Place tanks, lids, filters, nozzles, tools, and hose ends where air can reach every surface. Leave openings and tank lids ajar. Drying commonly takes 12-24 hours indoors, depending on humidity, airflow, and part thickness; the machine does not require a universal 24-hour period if every part is visibly and internally dry sooner.
Never store the machine assembled with a sealed wet tank. Keep filters out until dry, because a damp filter restricts airflow and can transfer odor into the exhaust.
Reassemble only after inspecting seals and confirming that no water remains in the hose or nozzle channel.
Success checkpoint: Components feel dry inside and outside, there is no pooled water under a gasket, and the machine starts without an odor or leak.
Common mistake: Using a heater or hair dryer on high heat. Excessive heat can deform plastic tanks, seals, and nozzle covers.
How Do Portable and Upright Bissell Cleaners Differ?
Portable Bissell spot cleaners need more attention on the hose, hand tool, and small dirty-tank float, while upright Bissell extractors require more attention on floor nozzles, brush rolls, belts, and undercarriages. Commercial Bissell machines may have larger tanks and heavier hoses, so drainage and lifting safety become additional concerns.
| Machine type | Examples | Main cleaning points | Typical cleanup time |
|---|---|---|---|
| Portable spot cleaner | Little Green, SpotClean Pro | Hose, hand tool, float, small tank | 10-15 minutes |
| Upright extractor | ProHeat 2X, Revolution, TurboClean | Floor nozzle, brush roll, belt area, tanks | 15-25 minutes |
| Commercial extractor | Big Green, BG10 | Large tanks, long hose, recovery path | 20-35 minutes |
| Specialized attachment unit | Pet Stain Trapper models | Tool basket, hose, recovery container | 10-20 minutes |
Portable units are convenient for stairs, car interiors, upholstery, and isolated pet stains, but their narrow tools clog quickly. Uprights cover rooms faster, although hair can collect around dual brush rolls and end caps.
Bissell carpet cleaners are not general-purpose wet vacuums. Do not use a carpet extractor to collect large amounts of standing water, ash, construction dust, or unapproved chemicals.
What Should You Use, and What Should You Avoid?
Use the Bissell formula named for the machine when the manual requires it, and dilute it exactly according to the tank markings or product instructions. Warm tap water is generally appropriate for a rinse, while boiling water, dish soap, laundry detergent, bleach, and solvent cleaners can damage seals, create foam, or leave residue.
Bissell’s carpet-cleaning FAQs warn against using formulas that are not designed for the machine. Warranty consequences depend on the product and region, so the manual and warranty terms control rather than a universal claim that every alternative automatically voids coverage.
| Substance or method | Recommended use | Main risk | Safer choice |
|---|---|---|---|
| Bissell-compatible formula | Normal carpet extraction | Incorrect dilution can leave residue | Follow tank markings |
| Warm tap water | Rinsing approved water paths | Excess heat can deform plastic | Use hand-warm water |
| Dish soap | Not recommended in the tank | High foam and sticky residue | Use approved extraction formula |
| Laundry detergent | Not recommended | Foam, perfume, surfactant buildup | Use the specified carpet formula |
| Bleach or disinfectant | Not for routine tank cleaning | Seal damage and chemical fumes | Rinse with clean water |
| Vinegar | Not a universal machine cleaner | Acidity may affect seals and warranty | Follow model manual |
A counterintuitive maintenance rule is that more detergent rarely produces cleaner carpet. Excess surfactant can remain in fibers, attract soil, and return to the machine as sticky residue during the next use.
How Long Does Cleaning and Drying Take?
Routine machine cleanup usually takes 10-25 minutes, while removable components need approximately 12-24 hours to dry in normal indoor conditions. Carpet drying is separate: light extraction may take 4-8 hours, but dense padding, high humidity, and over-wetting can extend drying beyond one day.
| Task | Typical duration | What changes the estimate | Completion test |
|---|---|---|---|
| Empty and rinse tanks | 3-6 minutes | Pet hair and sludge | No film or debris remains |
| Clean nozzle and brush | 4-10 minutes | Wrapped hair and lint | Air and water paths are open |
| Rinse hose and tools | 2-6 minutes | Long or narrow hose | Water flows freely |
| Air-dry parts | 12-24 hours | Humidity and airflow | Interior feels fully dry |
| Dry cleaned carpet | 4-8 hours | Padding, weather, extraction passes | Fibers feel dry at the base |
Use fans to move room air across the carpet, open windows when outdoor humidity permits, and avoid replacing furniture until the carpet is dry. Do not seal damp components in a plastic bag or closed cabinet.
What Are the Most Common Cleaning Mistakes?
The most damaging mistakes are leaving wastewater in the tank, sealing wet parts, using excess formula, cutting the brush belt, and disassembling sealed electrical areas. Each mistake has a practical recovery method, but prevention is cheaper than replacing a pump, belt, or motor.
- Leaving dirty water overnight: Empty and rinse the recovery tank immediately. Odor-producing residue often concentrates around the lid and float chamber.
- Using too much formula: Drain the tank, rinse it, and run the model-approved water-only rinse. On carpet, make additional dry passes rather than adding more solution.
- Ignoring the hand tool: Rinse portable tools separately because pet hair and concentrated soil collect in their small channels.
- Forcing a stuck float: Remove visible debris around the float and rinse the chamber. A float that remains stuck may need replacement.
- Cutting a belt while removing hair: Separate hair from the brush shaft with small parallel cuts, keeping scissors away from rubber and gears.
- Using boiling water or harsh chemicals: Drain the machine and rinse with clean, warm water. Stop if plastic, seals, or tubing show distortion.
Practitioner rule of thumb: if the machine has lost suction after cleaning, inspect the tank seal and nozzle before suspecting the motor. Air leaks and compacted lint are more accessible and more common than motor failure.
What Changes for Upholstery, Stairs, and Pet Messes?
Upholstery and stairs require the portable-tool cleaning routine, while pet messes require immediate tank and tool rinsing because biological residue can remain in the recovery path. Test upholstery for colorfastness, use the approved formula, and avoid saturating cushions or carpet padding.
For stairs, keep the portable unit on a stable landing and support the hose so the machine cannot fall. For upholstery, make short spray applications followed by slow suction passes, then remove the tool and rinse it separately.
For pet accidents, remove visible solids before extraction and dispose of contaminated material safely. Do not use bleach inside the Bissell machine. If odor persists after rinsing, inspect the tool channel, hose bends, dirty-tank lid, and float chamber before applying any external fabric treatment.
Why Is a Bissell Carpet Cleaner Not Picking Up Water?
A Bissell carpet cleaner that stops recovering water usually has a full dirty tank, a misaligned lid, a blocked nozzle, a clogged hose, or a float that has closed the suction path. Empty the tank first, reseat its lid and gasket, then inspect the nozzle and hose for compacted lint.
Check the following in order:
| Symptom | Likely cause | Corrective action |
|---|---|---|
| No suction immediately | Tank not seated | Remove and lock tank into the base |
| Suction stops mid-pass | Dirty tank full | Empty tank and clean float chamber |
| Weak suction at floor | Nozzle blockage | Remove lint from suction channel |
| Weak suction at tool | Hose or hand-tool clog | Rinse and inspect both connectors |
| Air leaks around tank | Lid gasket displaced | Clean groove and reseat gasket |
| Motor sounds normal, pickup is poor | Too many wet passes | Make slow trigger-free dry passes |
Do not operate the machine continuously with a blocked suction path. A restricted airflow route can increase motor heat and may trigger an automatic shutoff.
Why Did the Bissell Stop Spraying?
A Bissell carpet cleaner that stops spraying usually has an empty or poorly seated clean-water tank, a closed tank valve, an air-locked line, or a blocked spray opening. Reseat the tank, verify the valve engages, and follow the model’s priming instructions before attempting any deeper repair.
If the pump runs but water does not appear, inspect the tank outlet and visible spray tips for dried formula. Clean only with the supplied tool or the manual-approved method. Avoid enlarging an opening with a needle.
If the pump makes no sound, unplug the machine and stop testing. A failed pump, switch, wiring fault, or thermal protection issue requires model-specific service.
Why Is the Bissell Brush Roll Not Turning?
A Bissell brush roll that will not turn usually has hair around its end caps, a jammed brush chamber, a displaced belt, or a failed brush motor. Unplug the extractor, clear the brush manually, and test free rotation before opening an access panel.
Check for a cracked brush, missing end cap, stripped gear, or belt that has slipped from its track. Only remove a belt cover if the owner’s manual identifies that panel as user-serviceable. Commercial and upright designs differ substantially.
A brush that turns freely by hand but stops under power points toward the drive system or motor rather than a hair obstruction. Continued operation can worsen belt wear.
How Should You Store a Bissell Carpet Cleaner?
Store a Bissell carpet cleaner with empty tanks, open or detached lids, dry filters, a loosely arranged hose, and accessories positioned so air can circulate. Keep the machine upright in a dry indoor area, away from freezing temperatures and direct heat.
Before long-term storage, rinse formula residue from approved water paths, clean the nozzle and brush, and inspect the cord. Do not leave solution in the pump or clean tank for weeks. If the machine was used for a pet accident, complete a second plain-water rinse of the tool and recovery tank.
When Should You Replace Parts?
Replace a gasket that is cracked, permanently flattened, or unable to seal after cleaning. Replace a brush roll with damaged bristles, a split shaft, or worn end bearings. Replace a filter when washing no longer restores airflow or when the filter material is torn.
Do not improvise a float, tank latch, belt, or nozzle seal with tape. Use the model number to order the correct Bissell part because visually similar components can have different dimensions.
How Often Should You Clean the Machine?
Clean the Bissell carpet cleaner after every use, then perform a deeper inspection monthly during frequent use. Pet households should check brush ends, tool channels, and float chambers after each session because hair and biological residue accumulate faster than ordinary household soil.
| Use pattern | After every use | Monthly check | Seasonal or long-term check |
|---|---|---|---|
| Occasional room cleaning | Tanks, nozzle, brush, tools | Seals and hose | Full dry storage inspection |
| Weekly pet cleaning | All parts plus float | Brush ends and belt | Replace worn filters |
| Upholstery and car cleaning | Hand tool and hose priority | Connectors and O-rings | Inspect cracks and valves |
| Commercial or move-out work | Full water-path rinse | Belt, wheels, tanks | Service before heavy season |
A carpet cleaner that smells musty after routine rinsing is not clean yet. Find the retained moisture source rather than masking the odor with fragrance.
FAQ
Can I clean a Bissell carpet cleaner with vinegar?
Do not use vinegar unless the specific Bissell manual authorizes it. Vinegar can affect seals, leave an odor, and create warranty questions, while warm water and the approved cleaning procedure address most formula residue safely. Use a manufacturer-approved descaling method if mineral scale blocks a spray system.
Can I leave water in my Bissell carpet cleaner?
No. Empty unused solution and dirty water after every session. Water left in a tank, hose, or tool can develop odor and support microbial growth, while formula residue may thicken around valves and filters. Rinse approved components, leave lids open, and store the machine only after internal drying.
Do I need to clean the Bissell after every use?
Yes, routine cleaning after every use is the safest practice. At minimum, empty and rinse both tanks, clean the recovery float, clear the nozzle, rinse the hand tool or hose, and dry the removable parts. Heavy pet-soil work requires a more thorough water-path rinse.
Can I use a Bissell carpet cleaner on hardwood floors?
Do not use a carpet extractor on hardwood unless the model is specifically designed and labeled for sealed hard floors. Carpet machines can deliver excessive water and may damage seams, coatings, or unfinished wood. Use a hard-floor cleaner with the correct head and solution instead.
How do I find the correct cleaning instructions for my model?
Find the model number on the product label, usually near the tank, base, rear housing, or cord area, then use the matching Bissell owner’s manual or support page. Confirm which nozzles, filters, brush rolls, and rinse procedures are user-removable before disassembly.
Why does my cleaned Bissell still smell?
Persistent odor usually comes from the dirty-tank lid, float chamber, hose, tool channel, filter, or damp brush area rather than the tank basin alone. Rinse each component separately, remove hair and residue, dry all internal passages, and replace a filter that retains odor after washing.
The Bottom Line
To answer how do you clean a Bissell carpet cleaner, unplug the machine, empty both tanks, rinse the approved water path, clear the nozzle and brush roll, wash the hose and attachments, and air-dry every removable part before storage. The exact nozzle, filter, and flushing steps depend on the Bissell model, so use the owner’s manual whenever its instructions differ.


