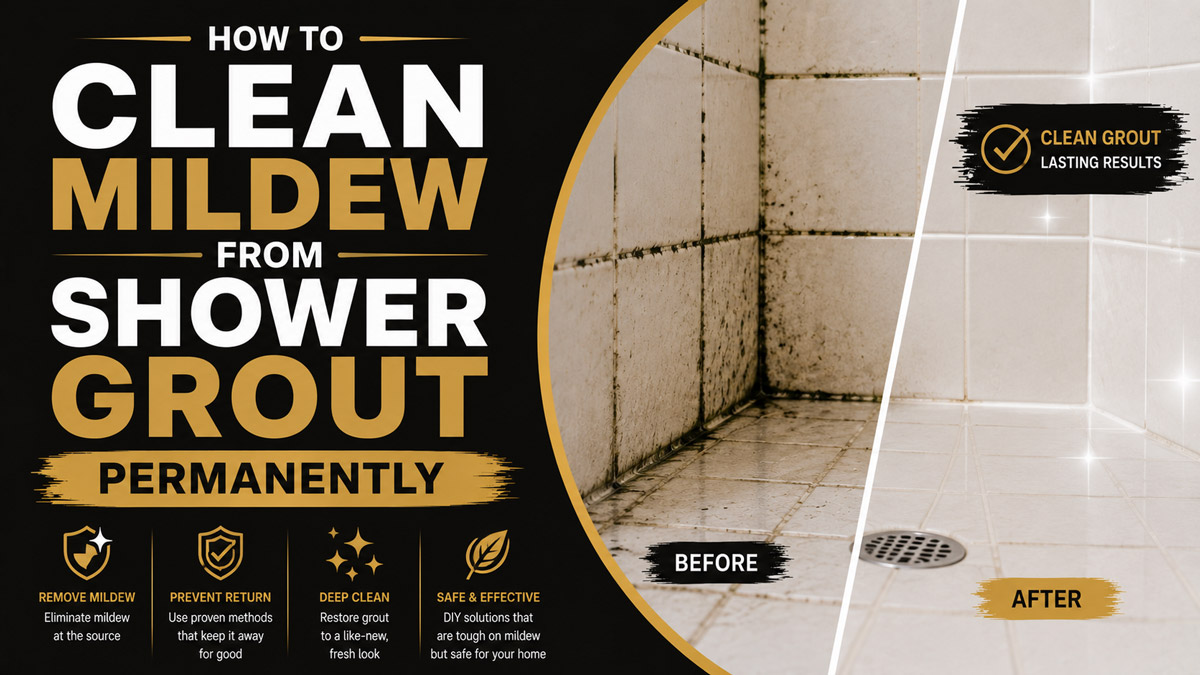
You can learn how to clean mildew from shower grout in one afternoon using standard household supplies. This targeted chemical and mechanical process kills the underlying fungus, extracts deeply embedded organic stains, and prevents immediate regrowth. The complete job takes approximately forty-five minutes. Success depends heavily on matching the correct chemical pH to your specific tile material and allowing adequate dwell time.
Before You Start
Mildew requires a specific approach to ensure you kill the spores rather than merely smearing them across your tiles. Gather your supplies before mixing any chemicals.
| Item | Quantity / Specification | Typical Cost | Purpose |
| Liquid Chlorine Bleach | 1 cup (5.25% sodium hypochlorite) | $4.00 | Kills mold spores on ceramic or porcelain tile. |
| Baking Soda | 1 box (16 ounces) | $2.00 | Alkaline abrasive for natural stone tiles. |
| Stiff Grout Brush | 1 (Nylon or Polypropylene bristles) | $6.00 | Agitates the mildew without scratching the grout. |
| Spray Bottle | 1 (32-ounce capacity, chemical resistant) | $3.00 | Distributes liquid solutions evenly. |
| Microfiber Cloths | 3 to 4 clean cloths | $8.00 | Absorbs residual moisture during the drying phase. |
| Safety Gear | 1 N95 mask, 1 pair nitrile gloves, goggles | $10.00 | Protects lungs and skin from spores and chemicals. |
- Time Required: 45 to 60 minutes for a standard 36×36 inch shower stall.
- Difficulty Level: Beginner.
- Cost: $15 to $35 depending on existing supplies.
- Prerequisite Conditions: The shower must be completely dry before beginning the prep phase. Ensure you have active ventilation.
Process Summary Table
| Step | Action | Time | Most Common Mistake |
| 1. Prepare | Ventilate the room and equip PPE. | 5 mins | Skipping the exhaust fan. |
| 2. Identify | Determine your specific tile and grout material. | 2 mins | Assuming all tile can handle bleach. |
| 3. Pre-wet | Lightly spray the dry grout lines with water. | 3 mins | Applying harsh chemicals to bone-dry porous grout. |
| 4. Apply | Distribute the chemical solution heavily. | 5 mins | Using warm water to dilute the bleach. |
| 5. Dwell | Leave the solution entirely undisturbed. | 15 mins | Scrubbing immediately after application. |
| 6. Agitate | Scrub vigorously in tight circular motions. | 15 mins | Using damaging metal wire brushes. |
| 7. Rinse | Flush with hot water and dry completely. | 10 mins | Leaving the shower to air dry. |
Step 1: Prepare the Workspace and Ensure Ventilation
Open all bathroom windows and turn on the ceiling exhaust fan. Put on your nitrile gloves, protective goggles, and N95 face mask to shield yourself from both active mold spores and chemical vapors. Remove all shampoo bottles, loofahs, and soap bars from the shower enclosure entirely. If you have any stainless steel or oil-rubbed bronze shower fixtures, cover them tightly with plastic wrap and painter’s tape to prevent accidental chemical etching. You will know this step worked when you can feel a distinct draft of fresh air pulling through the bathroom door. The most common mistake here is underestimating the harshness of bleach fumes in an enclosed, humid space.
Step 2: Identify Your Tile and Grout Type
Tap your tile with a metal spoon and inspect the surface texture to determine your exact material. Ceramic and porcelain tiles have a hard, glassy, uniform glaze. Natural stone tiles like marble, travertine, and slate feature porous surfaces with random natural veining. Sanded grout looks and feels like gritty cement, while unsanded grout is completely smooth. You will know this step worked when you can confidently write down your tile type and grout texture. The most common mistake at this stage is skipping the identification process and using highly acidic or highly alkaline cleaners on natural stone, which instantly etches and ruins the finish.
Step 3: Pre-wet the Grout Lines
Fill your spray bottle with plain, cool tap water and lightly mist all the grout lines you intend to clean. The grout should look damp but water should not be actively running down the walls. Porous grout acts like a dry sponge. If you apply concentrated bleach or heavy chemicals to dry grout, it pulls the liquid deep into the cement matrix too quickly. This traps the caustic salts beneath the surface, leading to structural crumbling over the next six months. Pre-wetting fills those deep microscopic voids with clean water, forcing your chemical cleaner to stay on the surface where the mildew actually lives. You will know this step worked when the grout lines turn a slightly darker shade of gray or brown. The most common mistake is saturating the walls so heavily that your subsequent cleaning solution immediately washes down the drain.
Step 4: Mix and Apply the Cleaning Solution
Mix your cleaning solution based on your tile type and apply it directly to the affected areas. For ceramic or porcelain tiles, mix one cup of standard liquid chlorine bleach with one gallon of cool water in a bucket. According to 2022 CDC guidelines regarding mold cleanup, using cool or room-temperature water is strictly required. Hot water chemically degrades the sodium hypochlorite, destroying its ability to kill fungal spores. Transfer the solution to your spray bottle and heavily saturate the grout lines, working from the bottom of the wall to the top to prevent uneven drip marks.
For natural stone tiles, mix three parts baking soda with one part water in a plastic bowl until it forms a thick paste. The paste should have the consistency of smooth peanut butter. Press this paste directly into the grout lines using your gloved fingers or a plastic putty knife.
You will know this step worked when every millimeter of the dark mildew stain is completely covered by your liquid or paste. The most common mistake is mixing the bleach solution with other household cleaners. Never mix bleach with ammonia, vinegar, or any acid-based cleaner. This chemical reaction creates highly toxic chlorine gas almost instantly.
Step 5: Allow the Chemical Dwell Time
Leave the cleaning solution completely undisturbed on the grout lines for fifteen full minutes. Mildew is a living fungal organism with a protective cellular membrane. The active ingredients in your cleaning solution need adequate time to penetrate this membrane, break down the root structure, and physically lift the dark pigmentation from the porous cement. Do not touch, wipe, or scrub the area during this waiting period. If you are cleaning a vertical wall and notice the liquid bleach solution evaporating or dripping away too quickly, lay strips of single-ply paper towel directly over the wet grout lines and spray them again. This creates a makeshift poultice that holds the chemical against the wall. You will know this step worked when you inspect the wall and see the stark black stains beginning to fade into a muddy brown or light gray. The most common mistake is losing patience and scrubbing immediately after spraying.
Step 6: Agitate the Stains Mechanically
Scrub the wet grout lines vigorously using your stiff-bristled nylon brush in tight, repeating circular motions. Apply roughly three to four pounds of physical pressure. Do not scrub in long, straight lines back and forth. Straight lines simply push the suspended dirt back into the microscopic pores of the grout. Circular motions lift the debris upward and outward. Pay extra attention to the lower corners of the shower and the intersections where vertical lines meet horizontal lines, as these joints hold the deepest spore colonies.
The American National Standards Institute (ANSI) A108 standards for tile installation strictly advise against using metal tools on grout. You must use nylon or polypropylene bristles. You will know this step worked when the liquid or paste turns dark gray or black as it lifts the embedded dirt out of the grout matrix. The most common mistake is pressing too hard with a brush that is too stiff, which physically scrapes away the top layer of the grout itself.
Step 7: Rinse, Neutralize, and Dry Completely
Flush the entire shower enclosure thoroughly with hot water from a detachable showerhead or a clean bucket. Ensure the water temperature is around 120 degrees Fahrenheit to help dissolve any remaining baking soda residue or bleach salts. Start from the highest point on the wall and wash all the dirty slurry down toward the drain. Once the walls are clean, use your dry microfiber cloths to wipe the tile and grout lines completely dry.
Microfiber is highly absorbent and will pull the remaining dirty moisture out of the grout lines. Leaving the shower to air dry allows lingering microscopic spores to immediately begin multiplying in the residual humidity. You will know this step worked when the grout lines are uniformly bright and the surface feels completely dry to the bare touch. The most common mistake is skipping the towel-drying phase entirely.
Common Mistakes and How to Fix Them
Even careful homeowners occasionally encounter problems when learning how to clean mildew from shower grout. Recognizing these failure modes early saves time and prevents permanent damage to your bathroom surfaces.
Using Wire Brushes on Grout Lines
Steel wire brushes and heavy abrasive wheels attached to power drills will physically destroy your grout. Grout is essentially a mixture of sand and cement. Metal bristles gouge out the cement binder, leaving deep scratches that trap even more water and mildew in the future.
- The Fix: If you have already scratched the grout, you must wash away all the loose dust. Once dry, you will need to apply a fresh layer of grout over the damaged areas to restore the smooth, water-resistant surface. Always switch to a stiff nylon brush.
Using Vinegar on Natural Stone
Many internet guides recommend white vinegar as an eco-friendly mildew killer. While effective on ceramic, vinegar is a highly acidic acetic acid. If you apply it to natural stone like marble, travertine, or limestone, it chemically dissolves the calcium carbonate in the stone. This creates permanent dull white spots known as etching.
- The Fix: Minor etching can sometimes be buffed out using a commercial marble polishing powder and a damp felt pad. Deep etching requires a professional stone restoration expert to mechanically grind and polish the entire tile surface. Stick to baking soda for all stone cleaning.
Applying Sealer to Wet Grout
After a successful cleaning, many people rush to apply a liquid grout sealer to protect their work. If you apply a penetrating sealer while the grout is still damp from the washing phase, the sealer cannot absorb into the pores. It will dry on the surface as a sticky, cloudy white film that attracts dirt.
- The Fix: The Tile Council of North America (TCNA) recommends waiting a minimum of 48 to 72 hours after heavy cleaning before applying any sealer. If you have already applied it to wet grout, you must strip the cloudy sealer away using a commercial grout sealer stripper and a scrubbing pad, then wait three days before trying again.
Ignoring the Silicone Caulk
Mildew frequently grows in the flexible silicone caulk joints where the walls meet the bathtub or shower pan. Scrubbing these joints with bleach usually fails. Silicone is non-porous on the surface, but mildew can grow completely behind and underneath the caulk bead where chemicals cannot reach.
- The Fix: Stop scrubbing. If the black stains remain inside the caulk after a fifteen-minute bleach dwell time, the fungus has penetrated the material. You must use a utility knife to slice out the old caulk completely. Clean the empty joint with rubbing alcohol, let it dry, and apply a fresh bead of 100-percent silicone mold-resistant caulk.
Process Variations for Different Situations
The standard bleach and scrub method works perfectly for ninety percent of ceramic showers. However, specific materials and conditions require altered approaches to achieve a clean result without causing accidental damage.
Variation 1: Colored and Epoxy Grout
Darkly colored grouts (like charcoal, brown, or navy blue) can be bleached of their intended color if exposed to harsh sodium hypochlorite. Epoxy grout, which contains plastic resins instead of cement, can become brittle if exposed to heavy solvents.
- The Adjusted Process: Skip the chlorine bleach entirely. Mix a solution of equal parts warm water and standard three-percent hydrogen peroxide. Hydrogen peroxide is a milder oxidizer that kills mildew spores effectively without aggressively stripping the synthetic pigments found in dark or epoxy grouts. Spray the mixture, allow a ten-minute dwell time, scrub lightly, and rinse.
Variation 2: Heavy Infestations and Vertical Stains
When dealing with a shower that has been neglected for months, a simple liquid spray will run down the wall before it has time to kill the heavy fungal growth. You need a method to hold the chemical against the vertical surface for an extended period.
- The Adjusted Process: Create a chemical poultice. Unroll several feet of heavy-duty paper towels. Dip the paper towels into your bleach and water solution until they are saturated but not dripping. Press the wet paper towels directly against the heavily stained vertical grout lines. The surface tension will hold them in place. Leave this poultice on the wall for thirty to forty-five minutes. Remove the paper, scrub the softened mildew, and rinse thoroughly.
Variation 3: Natural Stone Tile Showers
As established, bleach and acidic cleaners destroy natural stone. Baking soda works well for light surface dirt, but heavy mildew requires a stronger, safe alternative.
- The Adjusted Process: Purchase a specialized, pH-neutral commercial stone and grout cleaner. These enzymatic cleaners use safe biological agents to break down the mildew without altering the pH balance of the stone. Spray the neutral cleaner heavily, wait twenty minutes, agitate with a soft nylon brush, and rinse with plain water.
How Long Does It Take and What Does It Cost?
Understanding the true time and financial investment helps you prepare accurately for the project. For a standard residential shower (roughly 36 inches deep by 36 inches wide by 80 inches tall), the active cleaning process takes 45 to 60 minutes.
This breaks down into 5 minutes of preparation, 10 minutes of chemical application, 15 minutes of mandatory dwell time, 15 to 20 minutes of physical scrubbing, and 10 minutes of rinsing and drying. If you are using the poultice method for heavy vertical stains, add an additional 30 minutes to the total dwell time.
The financial cost is exceptionally low if you already own basic cleaning supplies. A bottle of liquid chlorine bleach costs roughly $4.00, and a box of baking soda is under $2.00. A dedicated stiff-bristled nylon grout brush costs between $5.00 and $8.00 at most hardware stores. If you need to purchase safety gear (N95 masks, nitrile gloves, and basic goggles), expect to spend an additional $10.00 to $15.00. The maximum out-of-pocket cost for a beginner starting with nothing is rarely more than $30.00.
Preventing Mildew Regrowth
Removing the existing stains solves the immediate aesthetic problem, but mildew will return within two weeks if the underlying environmental conditions remain unchanged. Mildew spores are omnipresent in household air. They only require moisture, warmth, and a food source (like soap scum or dead skin cells) to colonize your grout.
According to the Environmental Protection Agency (EPA) guidelines on indoor mold, moisture control is the only effective way to prevent biological growth. You must run your bathroom exhaust fan during every shower and leave it running for a strict minimum of twenty minutes after you step out. This pulls the humid air out of the room before it can settle into the porous grout lines.
Furthermore, keep a small rubber squeegee inside the shower enclosure. Take thirty seconds after every shower to squeegee the water off the walls and send it down the drain. This starves the microscopic spores of the standing water they need to survive.
Finally, once your newly cleaned grout has dried completely for 72 hours, apply a high-quality penetrating silane-siloxane grout sealer. Apply the liquid sealer with a small foam brush, wait five minutes, and wipe away the excess with a dry cloth. This chemical barrier fills the microscopic pores in the cement, making the grout temporarily waterproof. Water will bead up on the surface and roll away, preventing stains from taking root. You must reapply this sealer every twelve to eighteen months for continuous protection.
Frequently Asked Questions
Can I mix bleach and baking soda to make a stronger cleaner?
No. Mixing bleach and baking soda does not create a stronger cleaner. Baking soda is alkaline, and bleach is already highly alkaline. Mixing them simply neutralizes the effectiveness of the bleach while creating a messy, difficult-to-rinse paste. Use them separately depending on your tile type.
Why did my grout turn orange after I used bleach?
If your grout turns orange or pink after applying bleach, you are likely dealing with high iron content in your tap water. The bleach oxidizes the trace iron minerals in the water, creating actual rust stains on the porous cement. You will need a rust-specific remover to reverse this chemical reaction.
How do I know if I have mildew or black mold?
Mildew is a surface fungi that appears flat, powdery, and typically grows in gray, white, or light black patches. Toxic black mold (Stachybotrys chartarum) is raised, slimy, dark green or black, and usually grows on porous organic materials like drywall or wood beneath the tile. Both are killed by the bleach method described above.
Can I use a steam cleaner on shower grout?
Yes. A pressurized steam cleaner is an excellent, chemical-free alternative for maintaining grout. The 200-degree Fahrenheit steam instantly kills mildew spores and blasts away soap scum. However, heavy, repeated steam use can slowly degrade cheap grout sealers over time.
Will bleach dissolve my grout lines?
No. Standard household bleach (5.25 percent sodium hypochlorite) diluted properly with water will not dissolve cement-based grout. However, leaving undiluted industrial bleach on grout for hours can weaken the structural integrity of the cement binders. Always follow the dilution ratios and rinse the walls thoroughly.
Conclusion
Knowing how to clean mildew from shower grout effectively transforms a dark, unhygienic bathroom into a bright and welcoming space. By accurately identifying your tile material, properly diluting your chemical agents, respecting the mandatory dwell times, and utilizing the correct mechanical scrubbing techniques, you guarantee a professional result on your first attempt. Remember to keep the space dry and well-ventilated moving forward to stop the fungus from ever returning.


