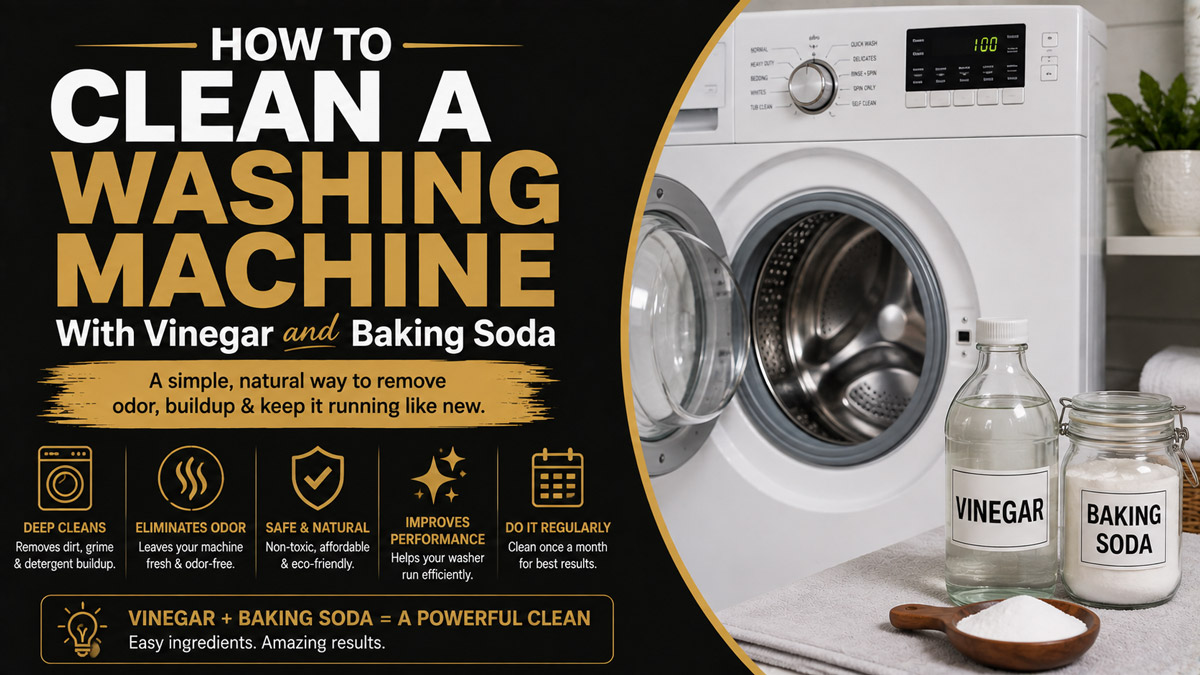
Knowing how to clean a washing machine with vinegar and baking soda restores standard operational performance and completely eliminates foul odors. You will execute five distinct phases: draining the filter, scrubbing the dispenser, running a hot acid cycle, running a hot alkaline cycle, and drying the interior. The entire process takes approximately three hours and requires beginner-level skills. Success depends entirely on running the two chemical cycles completely separately.
Before You Start
This maintenance routine requires specific concentrations of standard household chemicals. Do not substitute cleaning vinegars with industrial acetic acids, as high concentrations will degrade the synthetic rubber bellows inside your appliance.
- Total Time Required: 140 to 180 minutes (30 minutes active labor, 110-150 minutes machine cycle time).
- Difficulty Level: Beginner. No specialty mechanical tools are required.
- Estimated Cost: $3.00 to $5.00 for chemical components.
- Prerequisite Conditions: The washing machine must be completely empty of all laundry. Ensure you have access to the bottom front panel (for front-load models) or the rear water valves if you plan to clean the inlet screens.
Tools and Materials Required
| Material / Tool | Exact Quantity Required | Purpose | Typical Cost |
| Standard White Vinegar | 16 to 32 fluid ounces (2 to 4 cups) | Dissolves mineral scale deposits and kills bacterial growth. Must be 5% acetic acid. | $1.50 per bottle |
| Pure Baking Soda | 4 to 8 dry ounces (1/2 to 1 cup) | Neutralizes volatile organic acids and scrubs away soap scum. | $1.00 per box |
| Microfiber Cloths | 3 dry cloths (300 GSM minimum) | Wiping the stainless steel drum, glass door, and rubber exterior surfaces. | $2.00 |
| Stiff Bristle Brush | 1 brush (an old toothbrush) | Scrubbing tight plastic crevices in the detergent drawer. | $0.00 (reused) |
| Large Towel | 1 heavy bath towel | Catching stagnant water spills when opening the lower drain filter. | $0.00 (owned) |
| Warm Water | 1 small bucket or large bowl | Diluting the vinegar for manual scrubbing of the rubber gasket. | $0.00 |
Process Overview
| Step | Action | Time Required | Most Common Mistake |
| Step 1 | Empty the drain pump filter. | 15 minutes | Unscrewing the main filter cap before draining the excess water line. |
| Step 2 | Scrub the drawer and rubber gasket. | 15 minutes | Using excessive force on the gasket and unseating the retaining spring. |
| Step 3 | Run the hot vinegar cycle. | 60-90 minutes | Pouring vinegar into the bleach compartment instead of the main wash tray. |
| Step 4 | Run the hot baking soda cycle. | 45-60 minutes | Placing the baking soda inside the dispenser drawer, causing a clog. |
| Step 5 | Final wipe down and air dry. | 5 minutes | Closing the door immediately after the cycle finishes. |
Step-by-Step Process
Step 1: Empty the Drain Pump Filter (Front-Load Machines)
Locate the small access panel on the bottom front of your washing machine, drain the stagnant water using the auxiliary hose, and manually extract the debris filter. You must execute this step before running any cleaning cycles so the machine pumps clean water through clear lines.
Place a thick towel flat on the floor directly beneath the access door. Open the small panel to reveal a round dial and a small rubber hose capped with a plug. Unclip the small rubber hose, pull it forward, hold it over a shallow bowl, and remove the plug. Allow all the stagnant water to drain out completely. Once the flow stops, replace the plug and clip the hose back into place. Next, grip the large round dial and turn it counterclockwise. Pull the filter assembly straight out. Wash the plastic filter in your sink using warm water and your toothbrush to remove hair, lint, and calcified detergent. Slide the filter back into the housing and turn it clockwise until it locks firmly into place.
You will know it worked when the plastic impeller blade located at the very back of the filter housing spins freely when pushed with your finger.
The most common mistake at this stage is unscrewing the main round dial without draining the small hose first. Doing this releases up to a gallon of foul, rotting water directly onto your floor in a matter of seconds.
Step 2: Scrub the Detergent Drawer and Rubber Door Gasket
Remove the dispenser drawer from its tracks to scrub the plastic housing, then manually clean the inside folds of the rubber door seal using a diluted acid solution. This removes the localized black mold colonies that the automated cycles cannot reach.
Mix one cup of white vinegar with one cup of warm water in your small bucket. Open the detergent drawer and pull it forward until it hits the physical stop. Press down firmly on the plastic locking tab located above the fabric softener compartment, then slide the entire drawer completely out of the machine. Submerge the drawer in your bucket and scrub all the compartments with your toothbrush. Dip a microfiber cloth into the same solution and wipe the ceiling and sides of the empty cavity inside the machine where the drawer usually sits. Slide the clean drawer back into place. Next, open the main washing machine door. Gently peel back the thick rubber bellows surrounding the drum opening. Spray or wipe your vinegar solution directly into the folds at the 6 o’clock position, where water pools most often. Wipe away all slime, hair, and debris.
You will know it worked when a clean, dry white cloth wiped deeply inside the bottom fold of the rubber gasket comes out completely spotless.
The most common mistake is pulling the rubber gasket back with excessive physical force. The gasket is held to the metal chassis by a thin wire tension spring. Pulling too hard will snap the spring off, requiring a complex mechanical reassembly to prevent leaks.
Step 3: Run the Hot Vinegar Sanitizing Cycle
Execute a dedicated hot water wash cycle using white vinegar to dissolve calcium carbonate scale and kill bacterial colonies throughout the internal plumbing. Do not add any clothing or standard detergent during this process.
For front-load machines, pour exactly 2 cups (16 fluid ounces) of white vinegar directly into the liquid detergent compartment of the dispenser drawer. Select the “Tub Clean” cycle on your control panel. If your machine lacks this specific button, manually select the Sanitize setting or the highest possible water temperature, combined with the extra rinse option. Start the cycle and let it run to completion.
For top-load machines, manually set the machine to the largest load size, longest cycle time, and hottest water temperature. Allow the tub to fill completely with hot water. Once agitation begins, pour exactly 4 cups (32 fluid ounces) of white vinegar directly into the water. Let the machine agitate for exactly one minute to mix the solution. Pause the machine by lifting the lid or pressing the pause button. Let the heated acid solution sit stagnant inside the tub for exactly 60 minutes. After the soak completes, resume the machine and let the cycle finish draining.
You will know it worked when the stainless steel interior of the drum feels entirely smooth to the touch, lacking any chalky or gritty texture associated with hard water scaling.
The most common mistake is pouring the vinegar into the liquid bleach compartment. Bleach dispensers operate on a delayed-release siphon mechanism, which prevents the vinegar from entering the drum during the primary high-temperature agitation phase where it is most effective.
Step 4: Run the Hot Baking Soda Deodorizing Cycle
Run a second independent hot water wash cycle using pure baking soda placed directly inside the drum to neutralize lingering acidic odors and provide a mild abrasive action against loosened soap scum. This step must always follow the vinegar step, never precede it.
For front-load models, measure out 1/2 cup (4 dry ounces) of baking soda. Open the door and sprinkle the powder directly onto the bottom of the empty stainless steel drum. For top-load models, measure out 1 cup (8 dry ounces) of baking soda and sprinkle it across the floor of the tub, avoiding the very center of the agitator column. Close the door or lid. Select a standard hot water cycle with a normal spin speed. Do not select the extra rinse setting for this phase. Press start and allow the machine to complete the entire cycle. The hot water will dissolve the sodium bicarbonate, washing it through the outer tub assembly and the drain pump to neutralize the environment.
You will know it worked when you open the door at the end of the cycle and the interior smells completely neutral, rather than smelling like strong vinegar or musty mildew.
The most common mistake is placing the dry baking soda into the detergent dispenser drawer. Baking soda requires a high volume of water to dissolve rapidly. Placing it in the drawer causes it to form a thick, concrete-like paste inside the narrow plastic intake pipes, eventually backing up and flooding the front of the machine.
Step 5: Perform the Final Wipe Down and Air Dry
Wipe away any residual moisture or loosened debris from the glass door and rubber seals, then establish proper ventilation to prevent immediate mold recurrence. Mold requires stagnant moisture and darkness to propagate.
Once the baking soda cycle finishes, open the door completely. Take a fresh, dry microfiber cloth and systematically wipe down the inside of the glass door. Wipe the interior surface of the rubber gasket one final time to catch any scale deposits that the chemical cycles knocked loose. Wipe the front face of the machine. Finally, push the door back toward the machine but leave it open exactly two inches. Pull the detergent dispenser drawer out approximately one inch. Leave both components ajar permanently whenever the machine is not actively washing laundry.
You will know it worked when the stainless steel drum is completely dry to the touch within 60 minutes of finishing the final cycle.
The most common mistake is shutting the door firmly as soon as the cleaning process is over. Closing the door traps heavy steam inside an airtight, dark environment, creating the exact microclimate required to restart the fungal growth cycle within 24 hours. Appliance manufacturer LG explicitly recommends leaving the door open to air dry, noting that the vast majority of front-load mold issues stem directly from enclosed moisture.
Common Mistakes and How to Fix Them
Following instructions perfectly sometimes yields imperfect results if the machine possesses a hidden physical defect. Understanding how to troubleshoot common failures separates an adequate cleaning from a professional-grade restoration.
Mistake 1: Mixing Vinegar and Baking Soda Simultaneously
Combining acetic acid and sodium bicarbonate directly inside the washing machine drum creates an immediate, violent release of carbon dioxide gas. Once the fizzing stops, the chemical reaction leaves behind water and a weak sodium acetate salt. You have destroyed both the descaling power of the acid and the deodorizing power of the base. If you make this mistake, run a short, plain hot water rinse cycle to flush the salt out of the system, then restart the entire process from Step 3.
Mistake 2: Baking Soda Clogging the Dispenser Track
If you ignored the instructions and poured dry baking soda into the drawer, water will pool and overflow down the front of the machine. To clear this blockage, boil a kettle of water. Remove the dispenser drawer entirely. Carefully pour the boiling water directly down the exposed plastic track leading into the machine. Use a flexible pipe cleaner or a zip-tie to gently probe the pipe and break apart the hardened paste until the water drains freely into the drum.
Mistake 3: Ignoring the Water Inlet Valve Screens
If your machine takes an exceptionally long time to fill during the cleaning cycles, the rear inlet filters are choked with sediment. Turn off your hot and cold water supply valves at the wall. Unscrew the hoses from the back of the washing machine. Look inside the machine’s threaded ports to locate the small plastic mesh screens. Pull them out gently with needle-nose pliers. Soak the screens in pure vinegar for 30 minutes, rinse them clean, and reinstall them.
Mistake 4: Water Leaking from the Front Door During the Cycle
Vinegar is highly effective at loosening large, hardened chunks of calcium scale and calcified fabric softener. Sometimes, a large chunk breaks off the outer tub and washes down, getting trapped between the glass door and the bottom of the rubber gasket. This tiny obstruction breaks the water-tight seal, causing drips down the front panel. Open the door, inspect the 6 o’clock position on the glass rim and the rubber seal, manually remove the hard debris, and wipe the area clean.
Mistake 5: Persistent Odors Sourced from the Outer Tub
If the machine still smells musty after completing all five steps, you have a severe mold infestation embedded on the hidden exterior wall of the stainless steel drum. Vinegar is a mild acid and cannot destroy deeply rooted fungal networks. You must run a heavy-duty chemical intervention. Pour exactly one cup of liquid chlorine bleach directly into the drum and run a hot cycle. Never mix bleach and vinegar, as the combination creates lethal chlorine gas. Always ensure the vinegar is entirely rinsed away before attempting a bleach cycle.
Mistake 6: Sudsing or White Film Remaining in the Drum
If you notice a chalky white film coating the stainless steel after Step 4, your machine failed to rinse all the baking soda away. This usually occurs in high-efficiency (HE) machines that use minimal water volumes. Run a “Rinse and Spin” cycle with absolutely no added chemicals or detergents. The cold water will flush the remaining sodium bicarbonate down the drain.
Method Variations for Specific Situations
Not every laundry room is identical. You must adjust your cleaning chemistry and timing based on your specific water supply, machine design, and contamination levels.
High Mineral Content (Well Water Systems)
The Water Quality Association defines hard water as containing over 120 milligrams per liter of calcium carbonate. If you live on a well system with untreated hard water, standard 5% white vinegar will struggle to dissolve the heavy scale buildup inside the machine. To combat this, you must increase the concentration and the dwell time. Purchase a cleaning vinegar rated at 10% acidity. Use 3 cups of this stronger vinegar instead of the standard amount. For front-load machines, manually pause the cycle 15 minutes into the wash phase, allowing the heated 10% acid solution to soak against the outer tub for a full 90 minutes before resuming.
Top-Load Machines with Central Agitators
Traditional top-load machines feature a large plastic column sitting in the center of the tub. Pouring dry baking soda directly onto the floor of these machines often results in the powder migrating beneath the agitator skirt, where the water flow is too weak to dissolve it properly. To prevent this, boil 4 cups of water in a pot. Stir your 1 cup of baking soda into the boiling water until it dissolves entirely into a clear alkaline liquid. Pour this liquid directly into the tub in place of the dry powder for Step 4.
Septic System Constraints
Homeowners utilizing sensitive septic tanks must monitor the volume of chemicals introduced to their bacterial ecosystem. While baking soda is entirely harmless to septic biology, dumping 4 cups of raw vinegar (as required for top-loaders) can temporarily disrupt the pH balance in smaller holding tanks. If you operate on a septic system, execute Step 3 and Step 4 exactly 48 hours apart. Staggering the chemical release prevents a sudden pH spike in your drain field, protecting the beneficial bacteria that break down your household waste.
Commercial or Heavily Soiled Units
Machines used for heavily soiled work clothes (mechanics, landscapers) accumulate petroleum-based greases that acid and mild bases cannot cut through effectively. Vinegar cannot dissolve engine oil. Before beginning the standard five-step process, you must strip the grease. Run a hot cycle containing exactly 2 tablespoons of heavy-duty powdered enzyme detergent (or a specialized grease-cutting agent like Trisodium Phosphate, if permitted by local environmental regulations). Once the grease is stripped, proceed to Step 1.
Time and Cost Analysis
Maintaining your appliance with household staples is vastly more economical than purchasing commercial cleaning tablets. A typical pack of commercial washing machine cleaners costs between $8.00 and $12.00 for three treatments.
Purchasing a one-gallon jug (128 fluid ounces) of 5% white vinegar costs approximately $4.00, providing enough acid for eight front-load cleanings or four top-load cleanings. A standard 16-ounce box of baking soda costs roughly $1.50, providing enough base for four front-load cleanings or two top-load cleanings.
Your total material cost per cleaning session averages $0.85 for a front-load machine and $1.75 for a top-load machine.
The time investment heavily favors automated machine labor over manual human labor. You will spend exactly 15 minutes prepping the drain filter, 15 minutes scrubbing the gasket and drawer, and 5 minutes wiping the machine down at the end. The washing machine performs the remaining 110 to 150 minutes of work unsupervised. Do not attempt to shorten the cycle times to save electricity. The Association of Home Appliance Manufacturers testing standards require water temperatures reaching at least 60 degrees Celsius (140 degrees Fahrenheit) for a minimum of 45 minutes to achieve verifiable sanitization inside an appliance tub.
Frequently Asked Questions
How often should I execute this deep cleaning process?
You should clean your washing machine every 30 wash cycles, or roughly once a month for a standard household. If you wash heavily soiled athletic gear or live in a highly humid climate, increase the frequency to every three weeks to prevent mold establishment.
Can I substitute apple cider vinegar for white vinegar?
No. Apple cider vinegar contains organic sugars, tannins, and a lower overall acetic acid percentage. Introducing sugars into a warm, wet environment feeds bacterial growth. You must use distilled white vinegar, which is completely devoid of organic matter and leaves no residue.
Will using vinegar void my manufacturer warranty?
Using 5% distilled white vinegar occasionally will not void your warranty. Appliance manufacturers design their synthetic rubber seals to withstand the harsh surfactants found in commercial detergents. However, soaking seals in highly concentrated industrial acid (30% acidity) will cause premature degradation and component failure.
What temperature is required for the cleaning cycles?
You must use water reaching at least 60 degrees Celsius (140 degrees Fahrenheit). Cold water cannot activate the dissolving properties of the acetic acid, nor can it fully dissolve the sodium bicarbonate. Always select the highest possible temperature setting available on your specific control board.
Can I leave wet clothes in a freshly cleaned machine?
Leaving wet laundry inside a closed drum for longer than two hours negates the cleaning process entirely. The damp fabric introduces new mold spores to the freshly sanitized stainless steel. Always transfer your laundry to the dryer immediately upon cycle completion.
Should I wipe down the outside of the machine with vinegar?
Yes. You can use the remaining 1:1 vinegar and water solution from Step 2 to wipe down the exterior enamel casing, the digital control panel, and the top lid. Spray the solution onto your microfiber cloth first, rather than spraying directly onto the electronic buttons, to prevent liquid intrusion into the circuitry.
Learning how to clean a washing machine with vinegar and baking soda ensures your clothing emerges fresh and your appliance operates efficiently for years. By respecting the chemical necessity of separating the acid and alkaline cycles, you bypass the common failures that plague beginner maintenance routines.


